HOW TO
How to get a Long-lived Facebook Page Access Token
Step-by-step วิธีสร้าง Facebook App ใหม่และดึง Page Access Token ที่ไม่มีวันหมดอายุ มาใช้ automate การโพสต์บน Page ของตัวเอง. ใช้กระบวนการนี้ครั้งเดียวก็จบ ไม่ต้อง re-login อีกตราบใดที่คุณยังเป็น admin ของ Page.
Token นี้คืออะไร แล้วทำไมต้องใช้
- User token ปกติของ Facebook อายุสั้นมาก (1-2 ชั่วโมง) ต่อให้แลกเป็น long-lived ก็แค่ 60 วัน หลังจากนั้นต้อง login ใหม่
- Page token ที่ได้จาก
/me/accountsด้วย long-lived user token จะ ไม่มีวันหมดอายุ ตราบใดที่คุณยังเป็น admin ของ Page ตัวเดียวกัน (Facebook ออกแบบไว้สำหรับ automation/server-to-server โดยเฉพาะ) - เอาไว้ใช้กับ Graph API endpoint อย่าง
POST /me/feed,POST /me/photos,GET /me/insightsฯลฯ
- 1
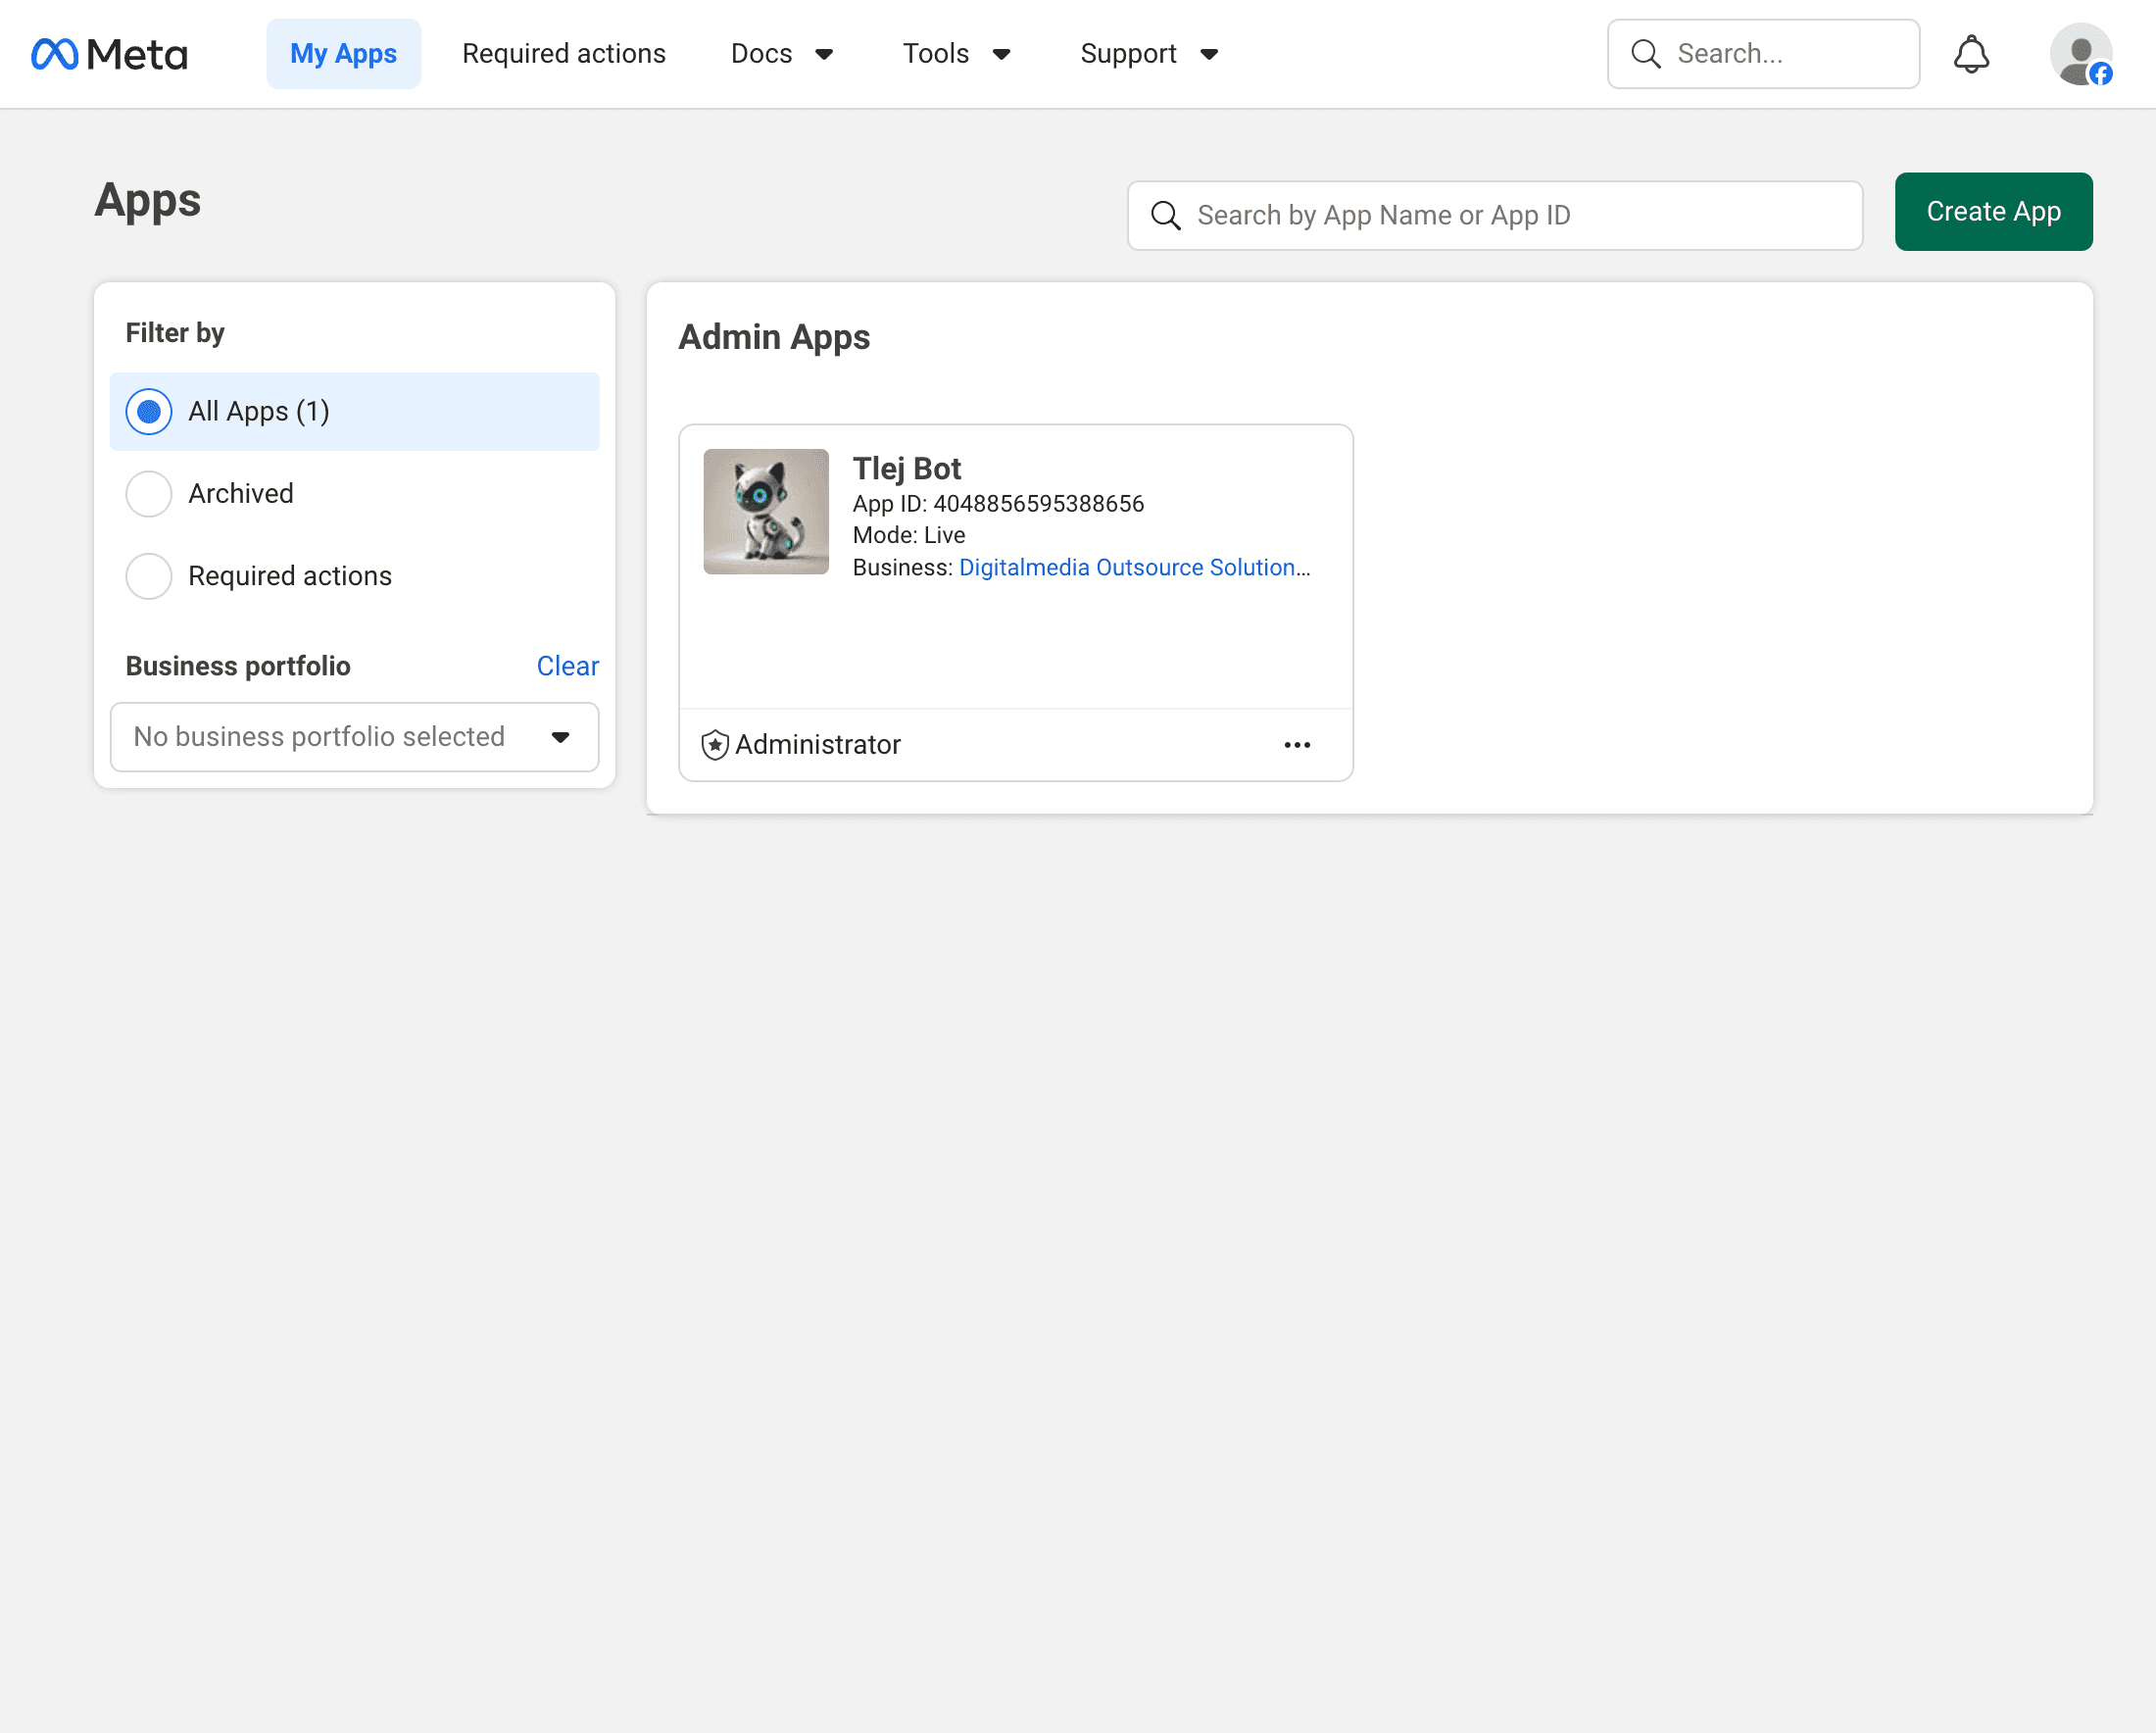
Open developers.facebook.com/apps
เข้า https://developers.facebook.com/apps ด้วย account Facebook ที่เป็น admin ของ Page ที่จะให้ token ดูแล แล้วกดปุ่ม Create App มุมขวาบน
EN. Sign in with the Facebook account that admins the Page. Click Create App.
- 2
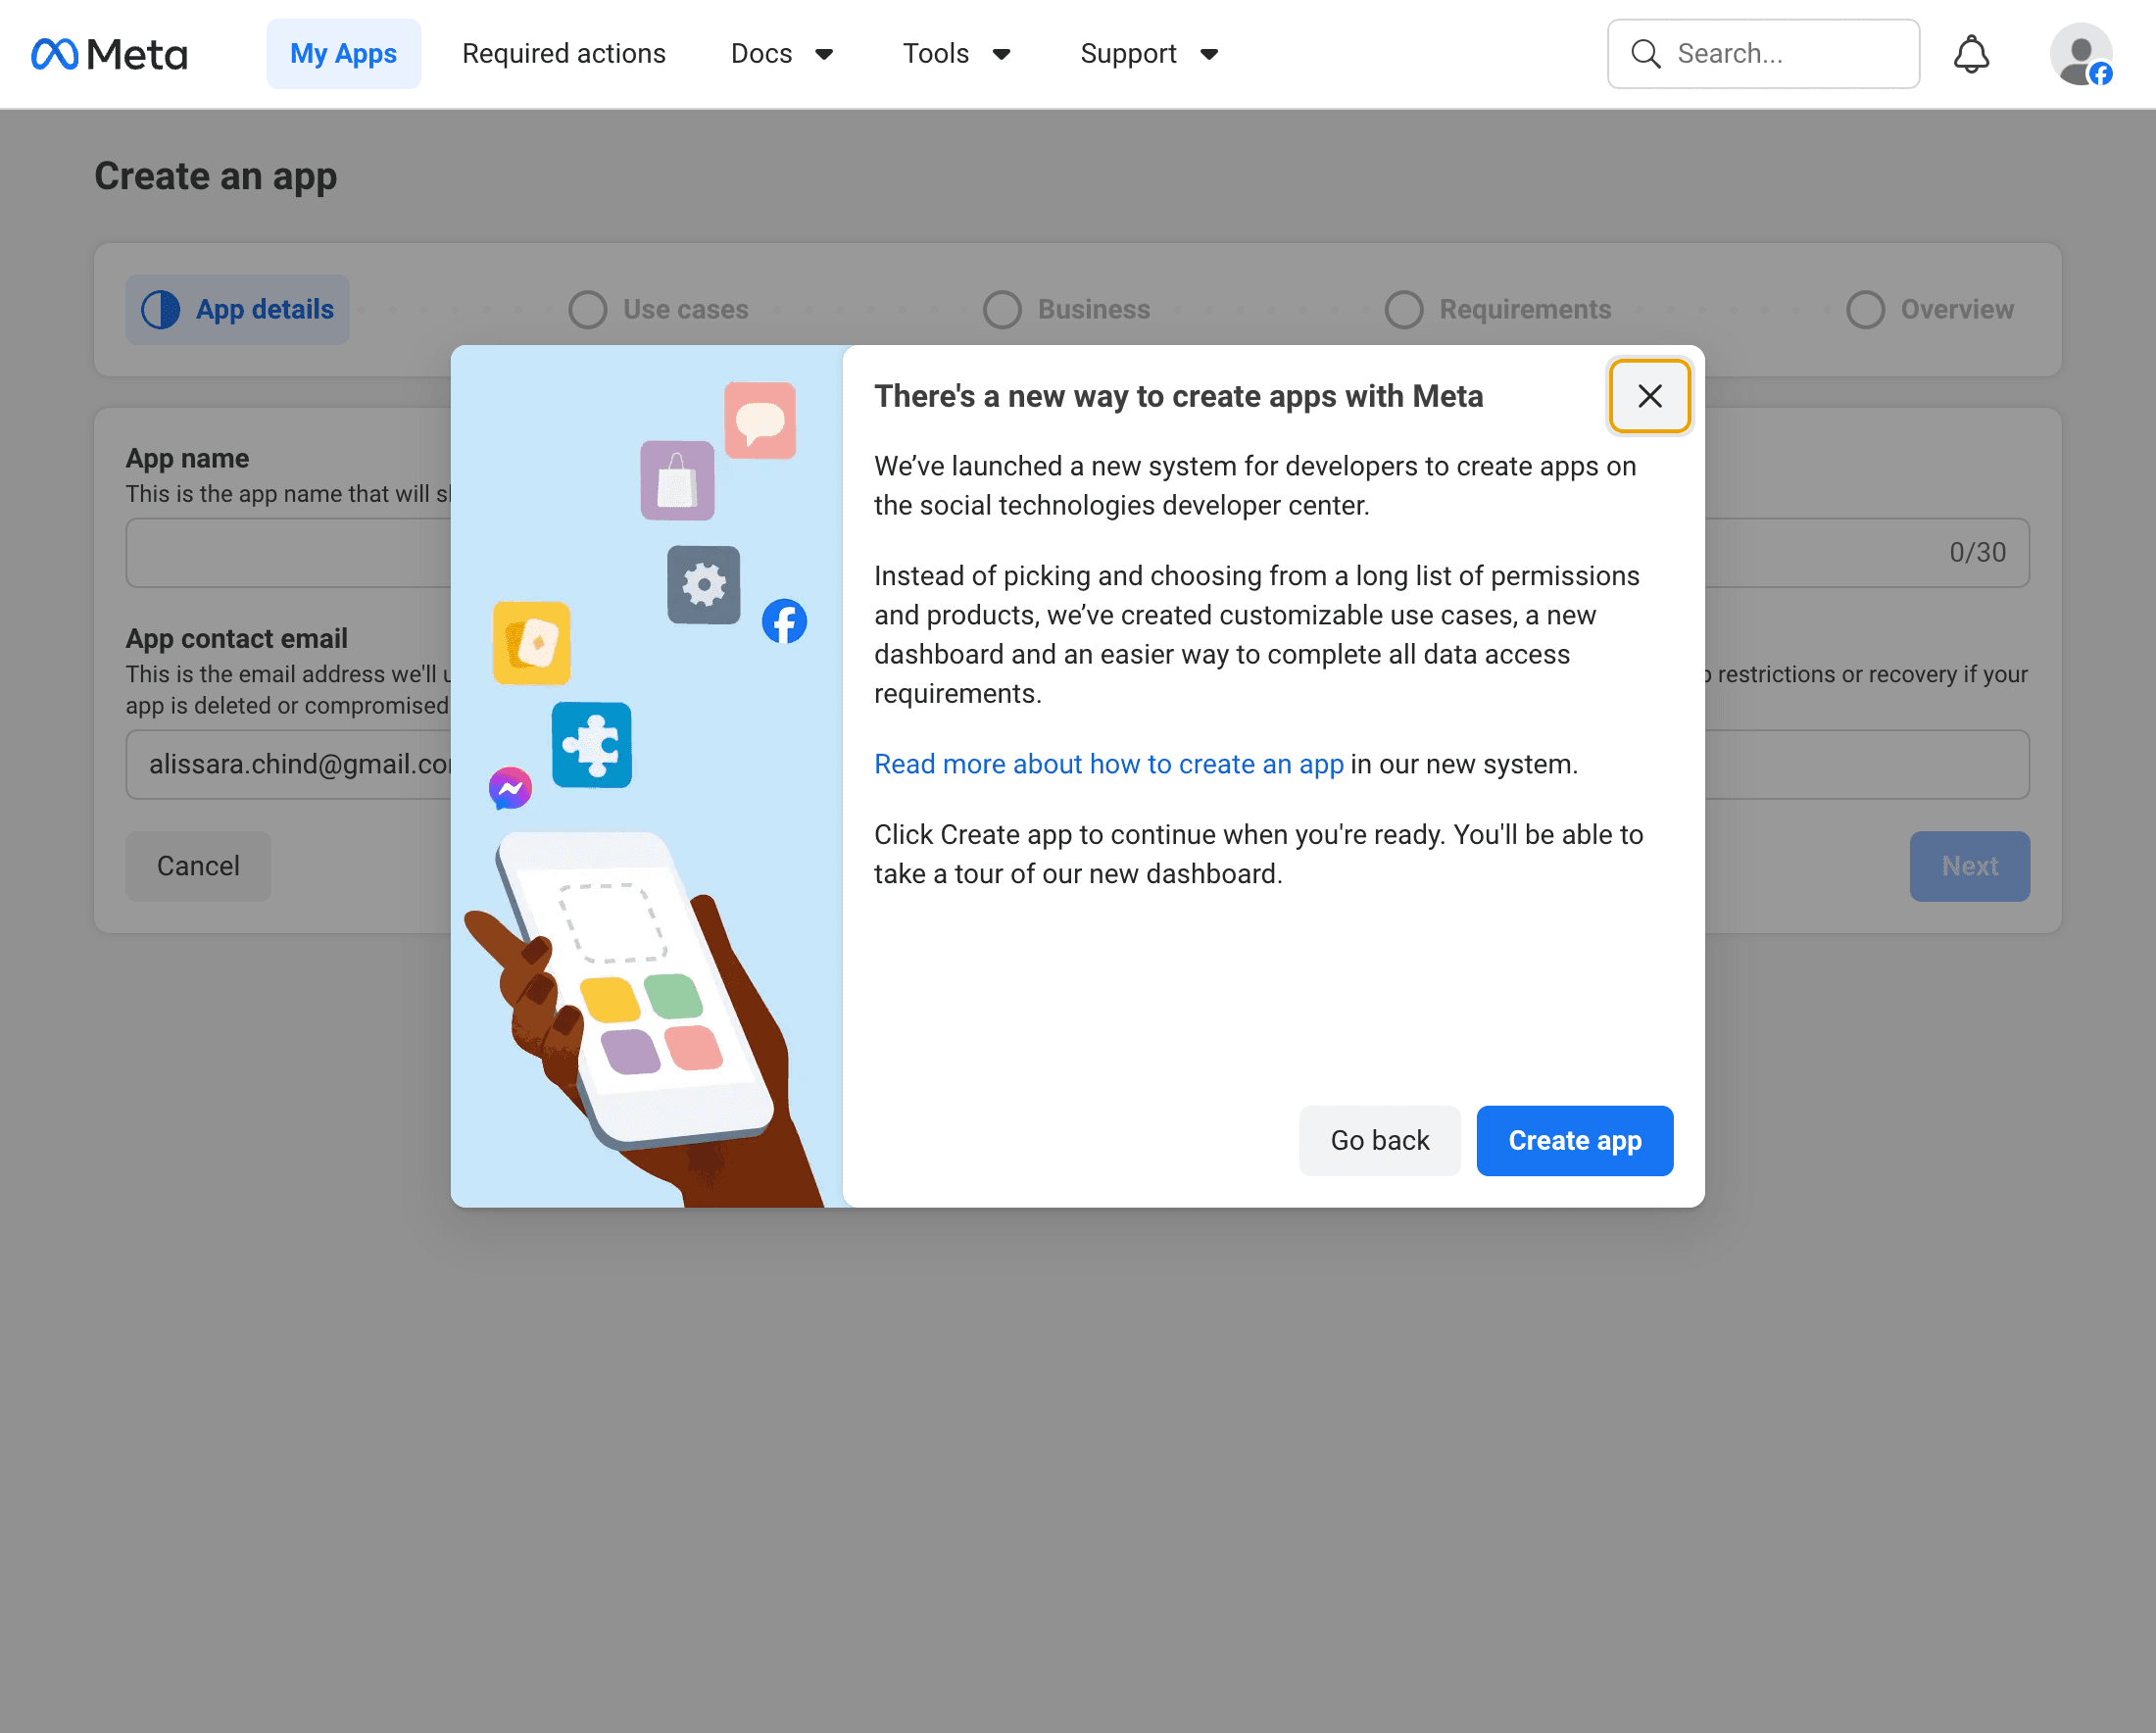
Create App modal
กรอกชื่อแอป (เช่น 'Mint AI Assistant') กับ contact email แล้วกด Next
EN. Enter an app name and your contact email, then Next.
- 3
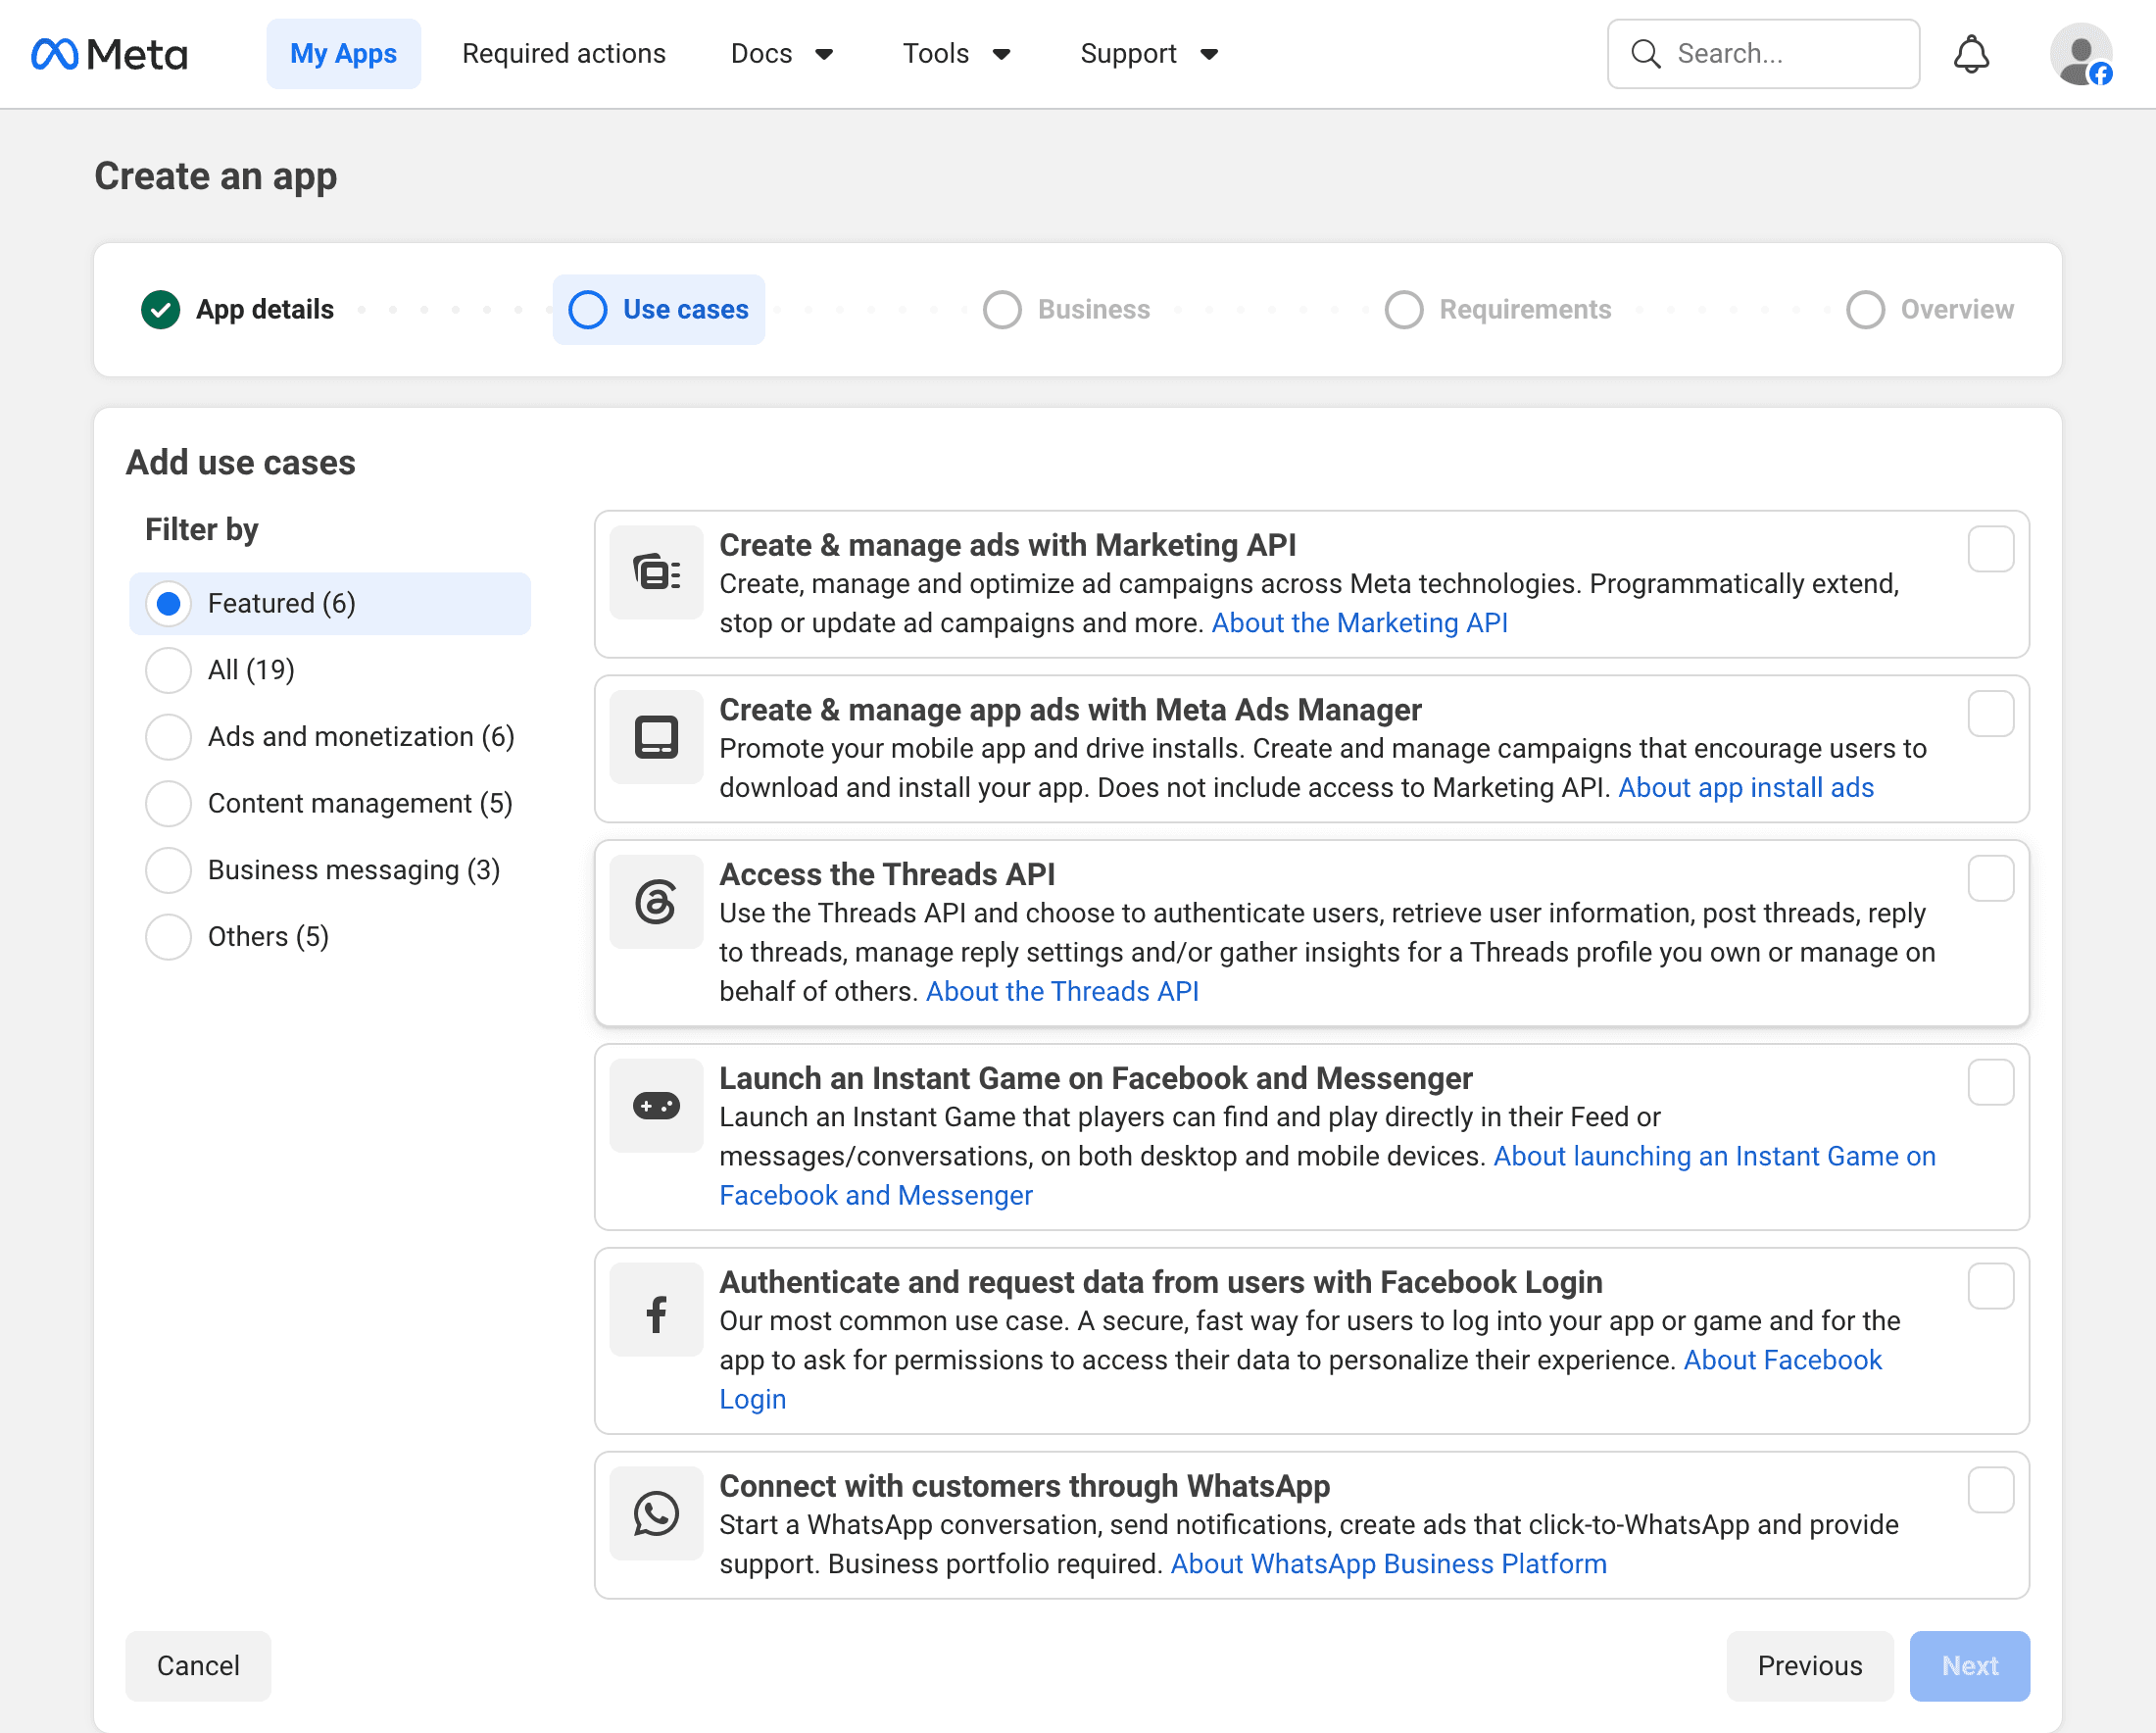
Pick a use case = Manage everything on your Page
หน้า Use cases เลือก 'Manage everything on your Page' (จะ unlock Pages API ให้อัตโนมัติ ไม่ต้องไปขอ permission ทีละตัว)
EN. Choose 'Manage everything on your Page'. This bundles the Pages API permissions you need.
- 4
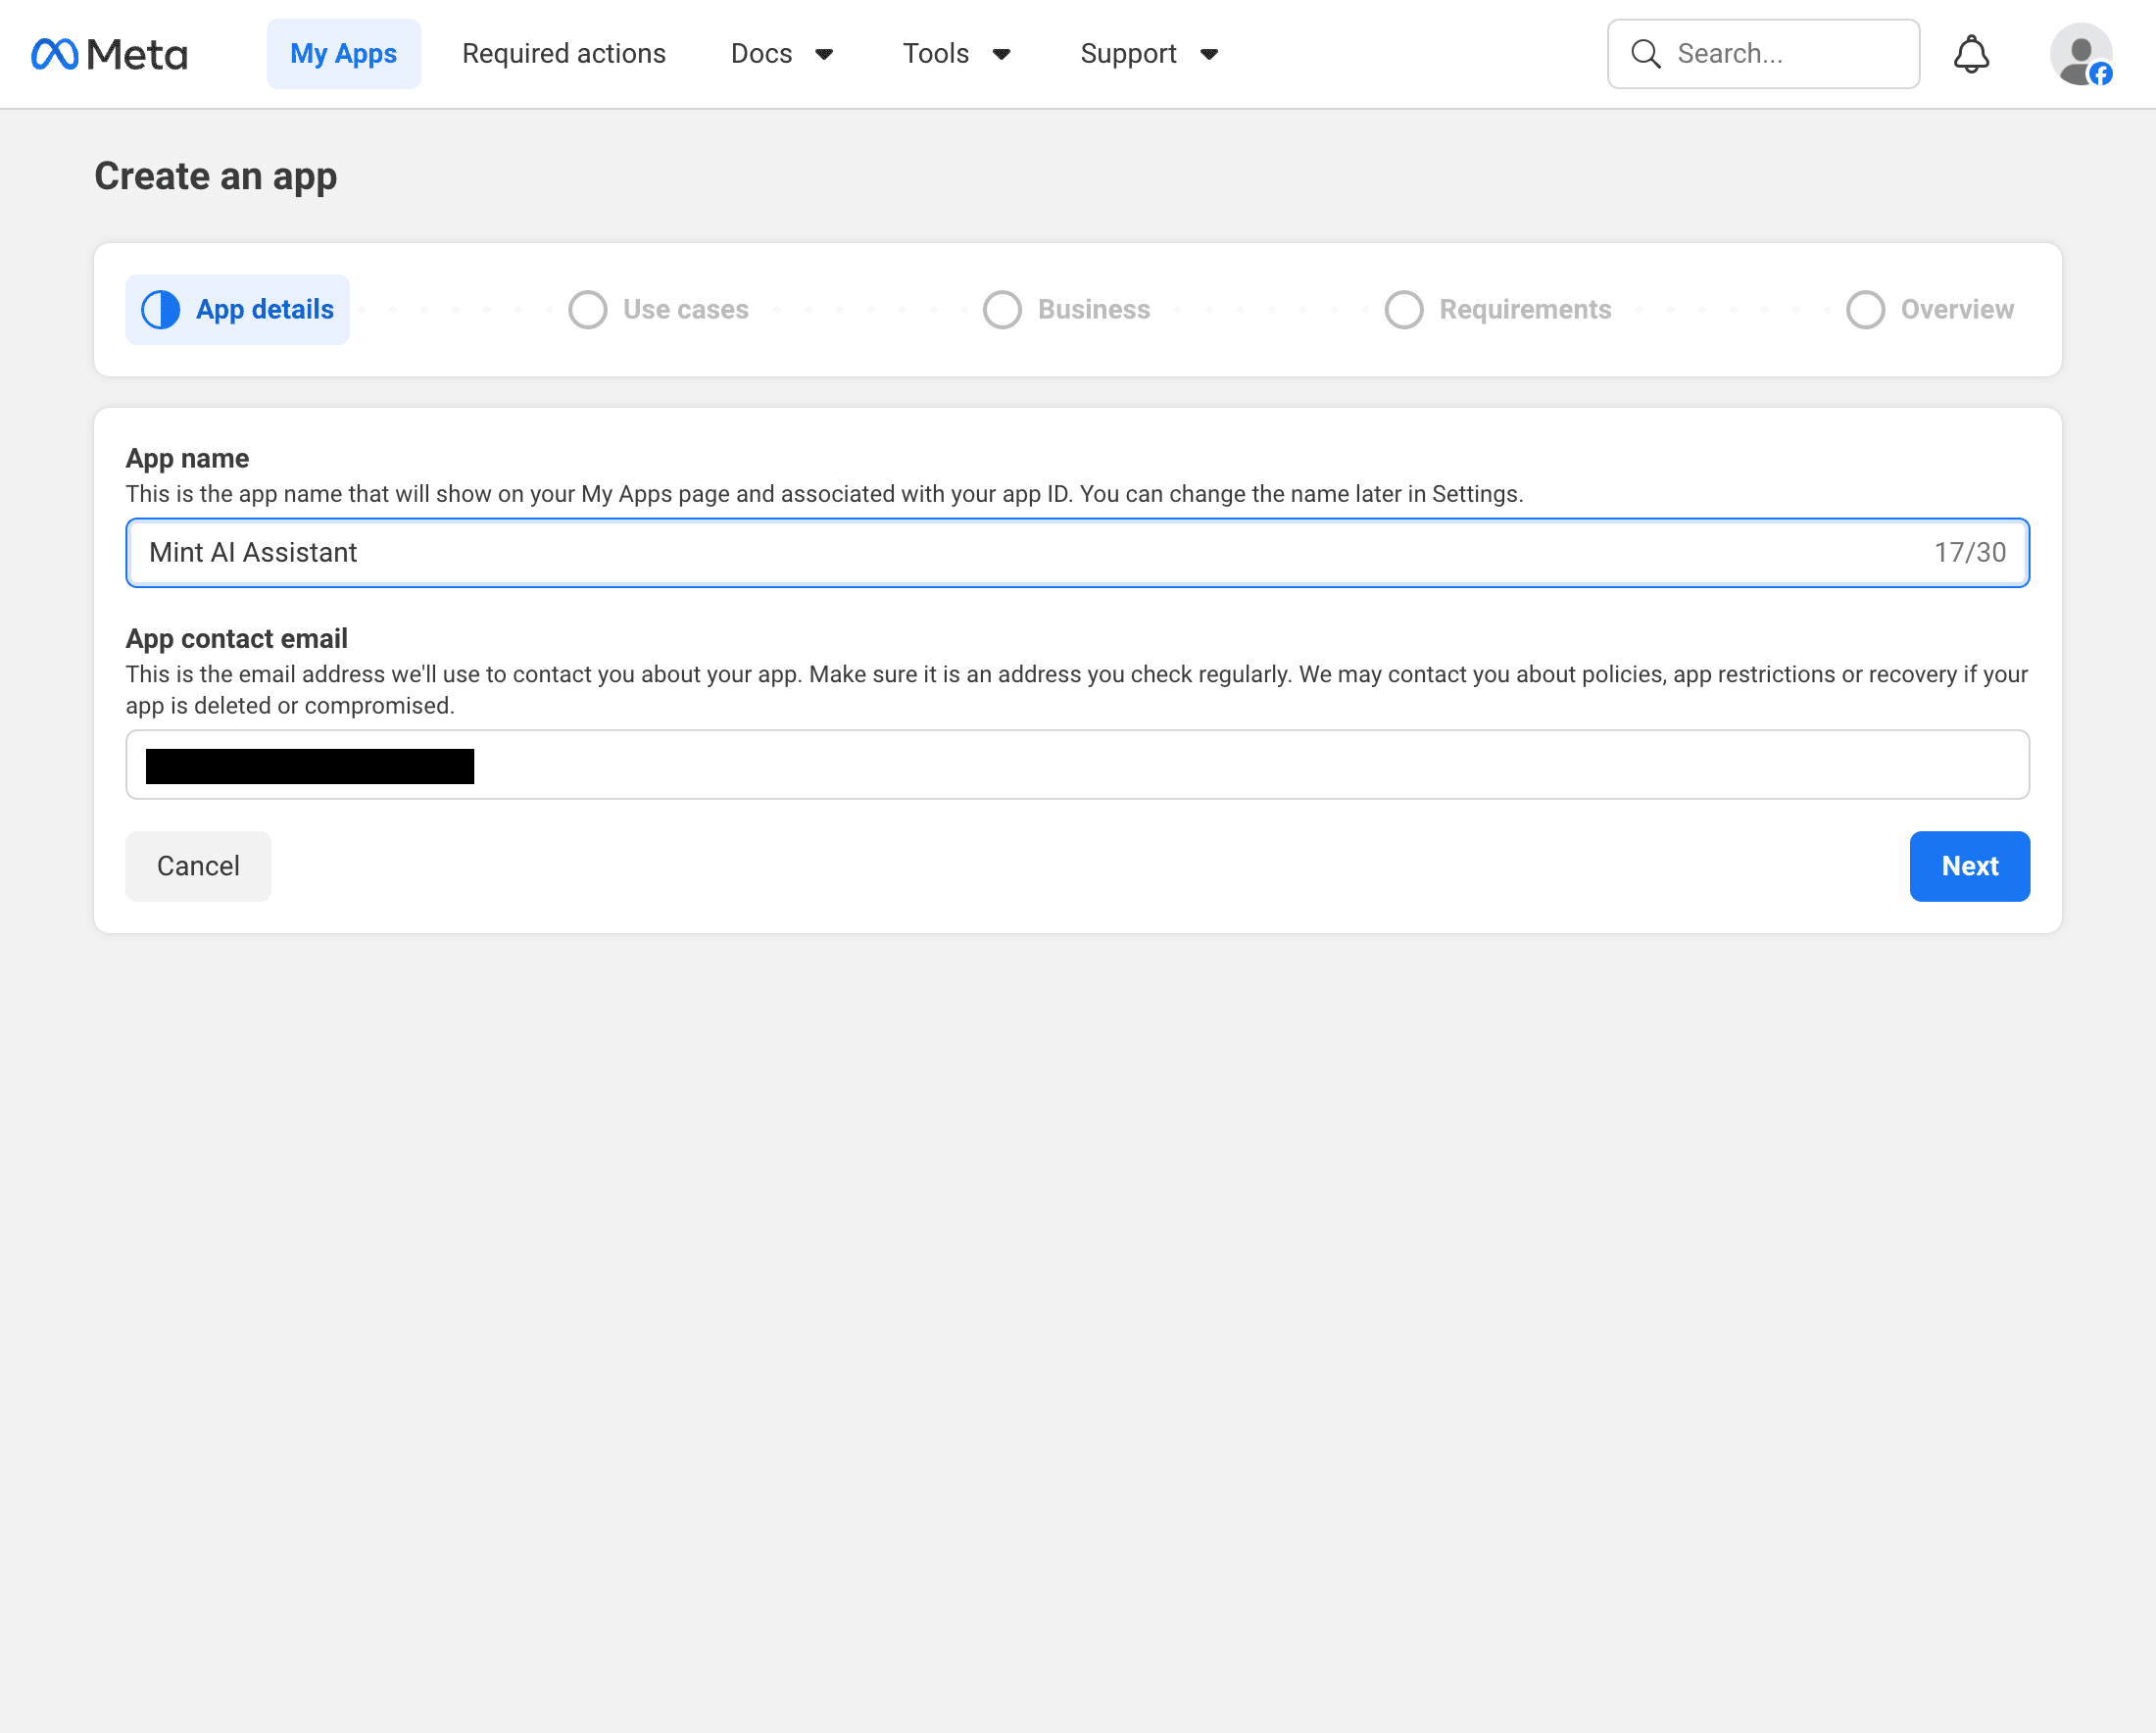
Skip business portfolio + finalize
หน้า Business จะถามว่า associate app กับ Business Portfolio ไหม กดข้ามได้ (ผูกทีหลังก็ได้) แล้วกด Create app — Facebook จะให้กรอก password ซ้ำเพื่อยืนยันตัวตน
EN. Skip the Business Portfolio step (you can attach one later) and click Create app. Facebook may ask you to re-enter your password.
- 5
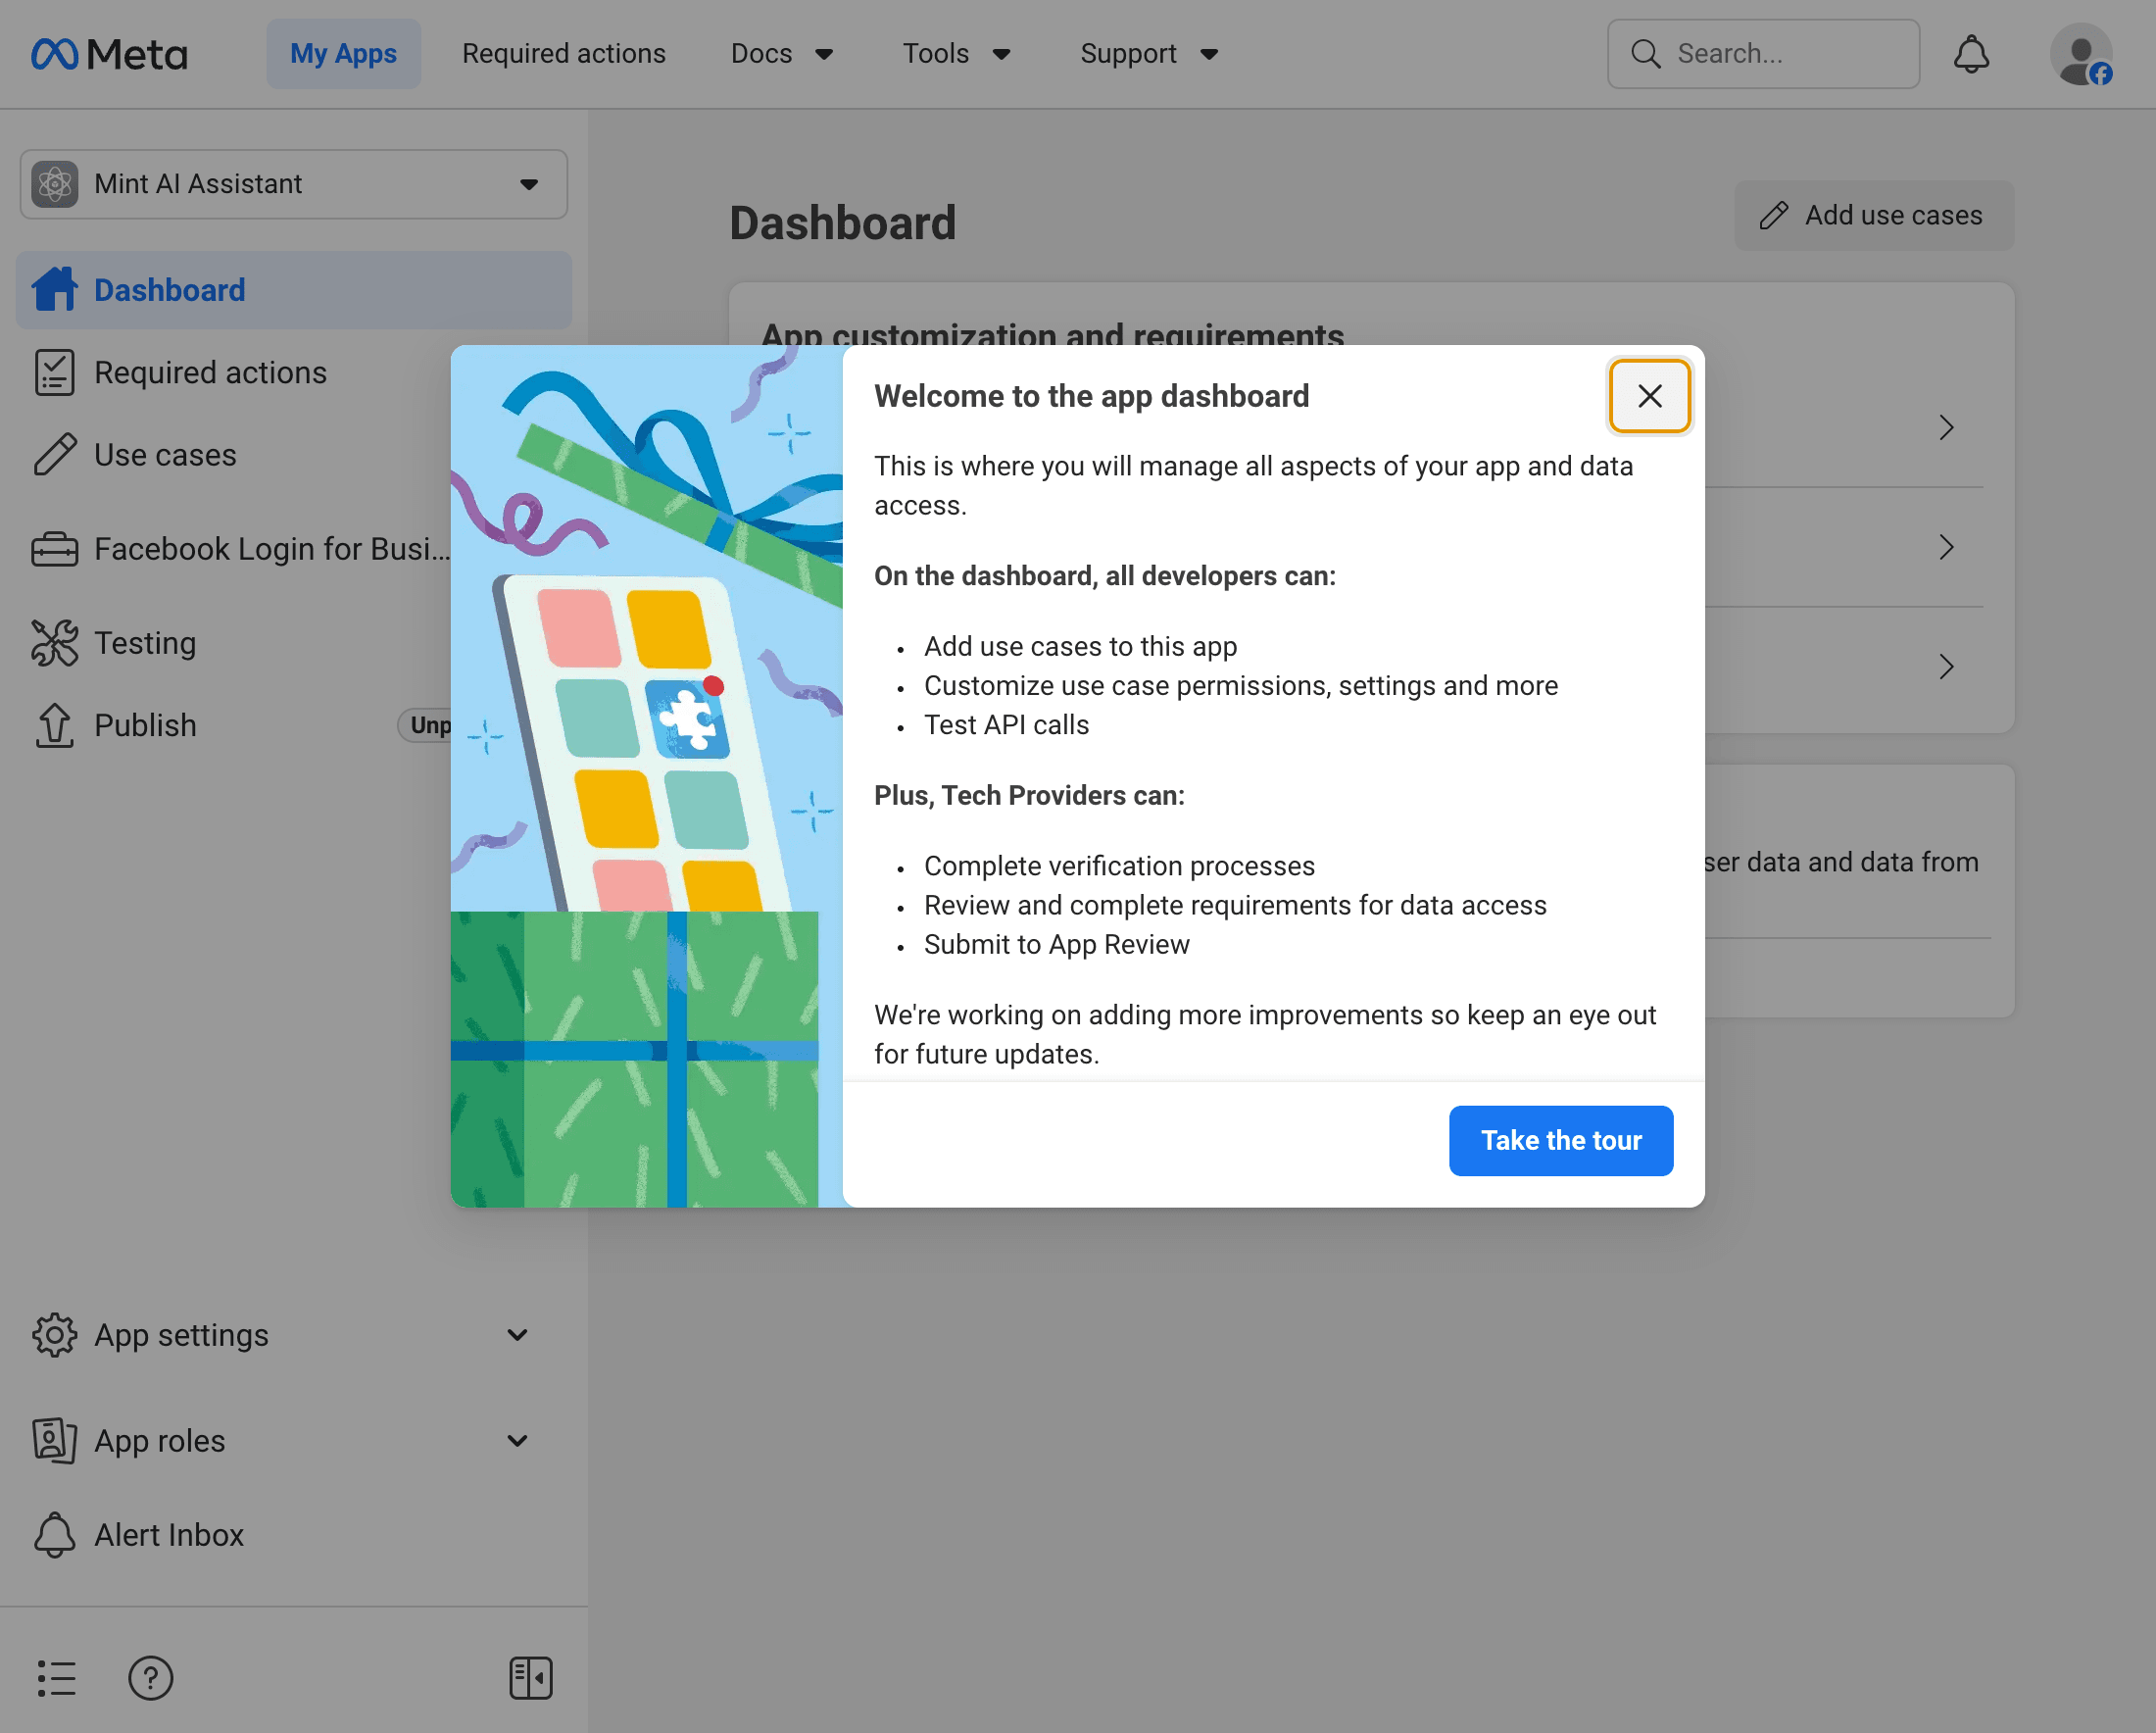
Land on the App Dashboard
เมื่อสร้างสำเร็จจะเข้าสู่ App Dashboard จดเลข App ID ไว้ (จะใช้ตอนแลก token)
EN. After creation you land on the App Dashboard. Note the App ID.
- 6
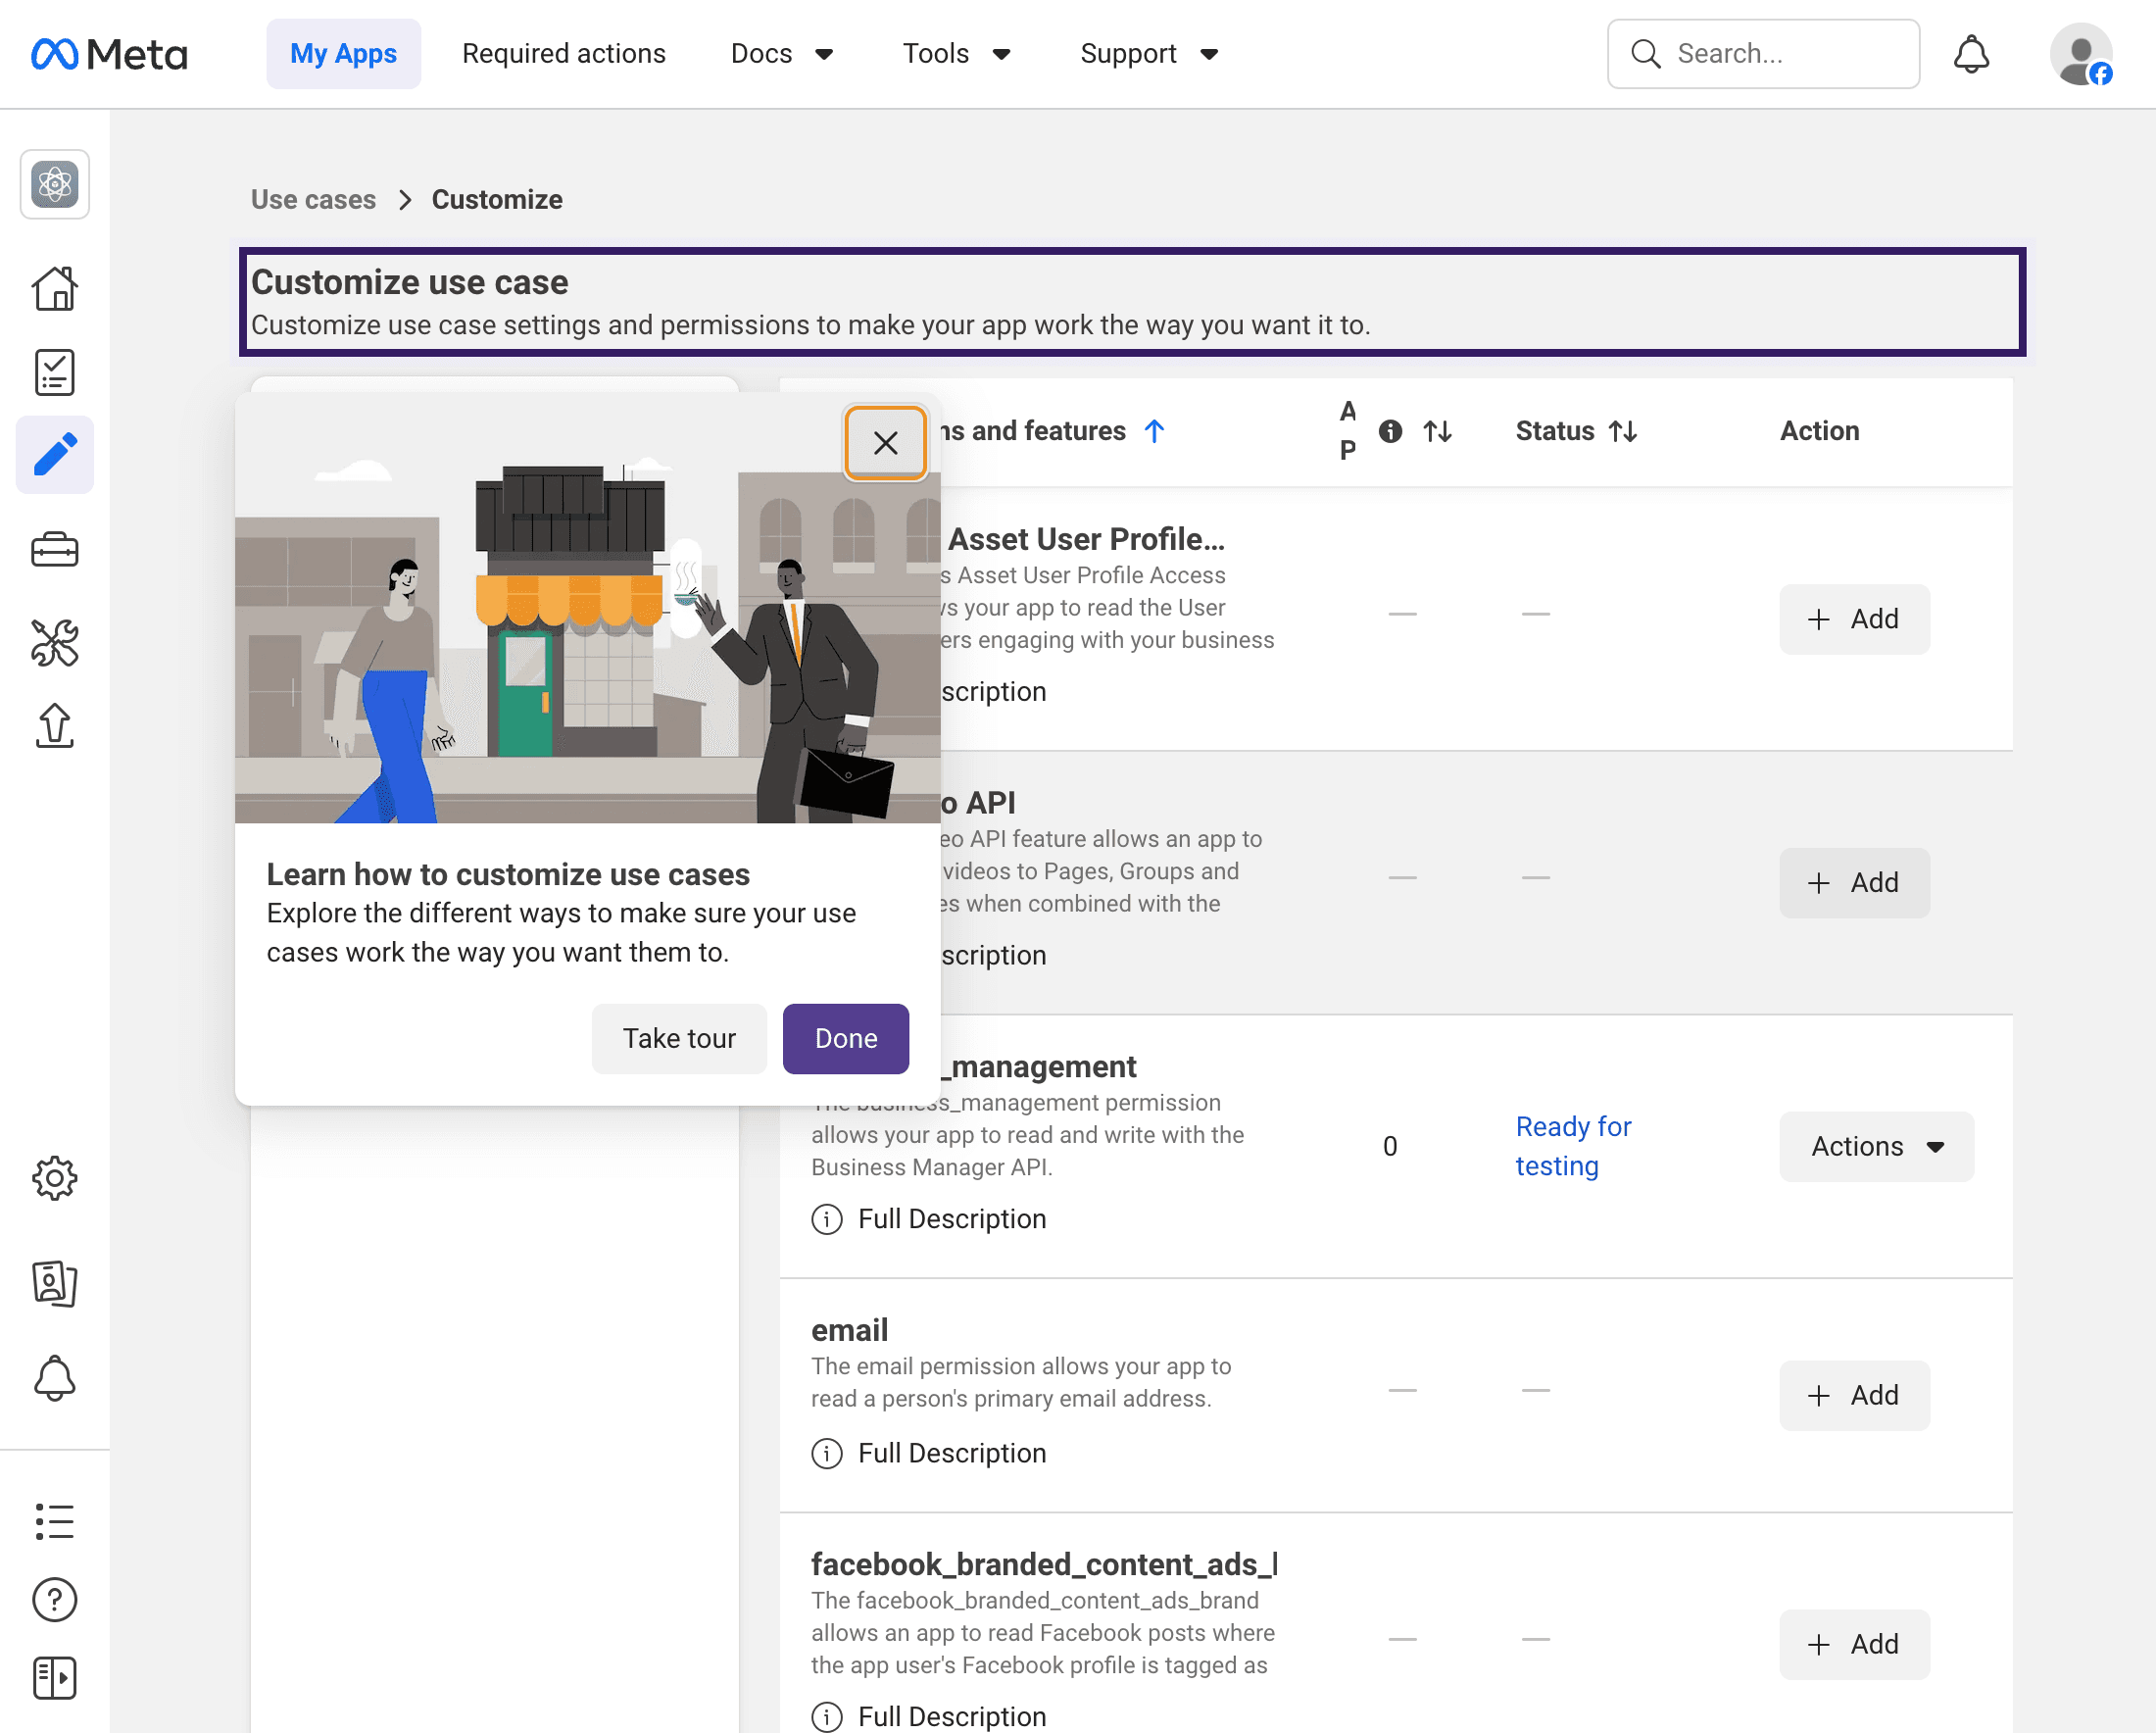
Open Use cases → Customize → add 4 page permissions
ไปที่ Use cases > 'Manage everything on your Page' > Customize. ในตาราง Permissions ให้กด Add ทีละบรรทัด: pages_show_list, pages_manage_posts, pages_read_engagement, pages_manage_metadata จนทุกตัวขึ้น 'Ready for testing'
EN. In Use cases → Manage Pages → Customize. Hit Add next to each: pages_show_list, pages_manage_posts, pages_read_engagement, pages_manage_metadata. They should switch to 'Ready for testing'.
- 7
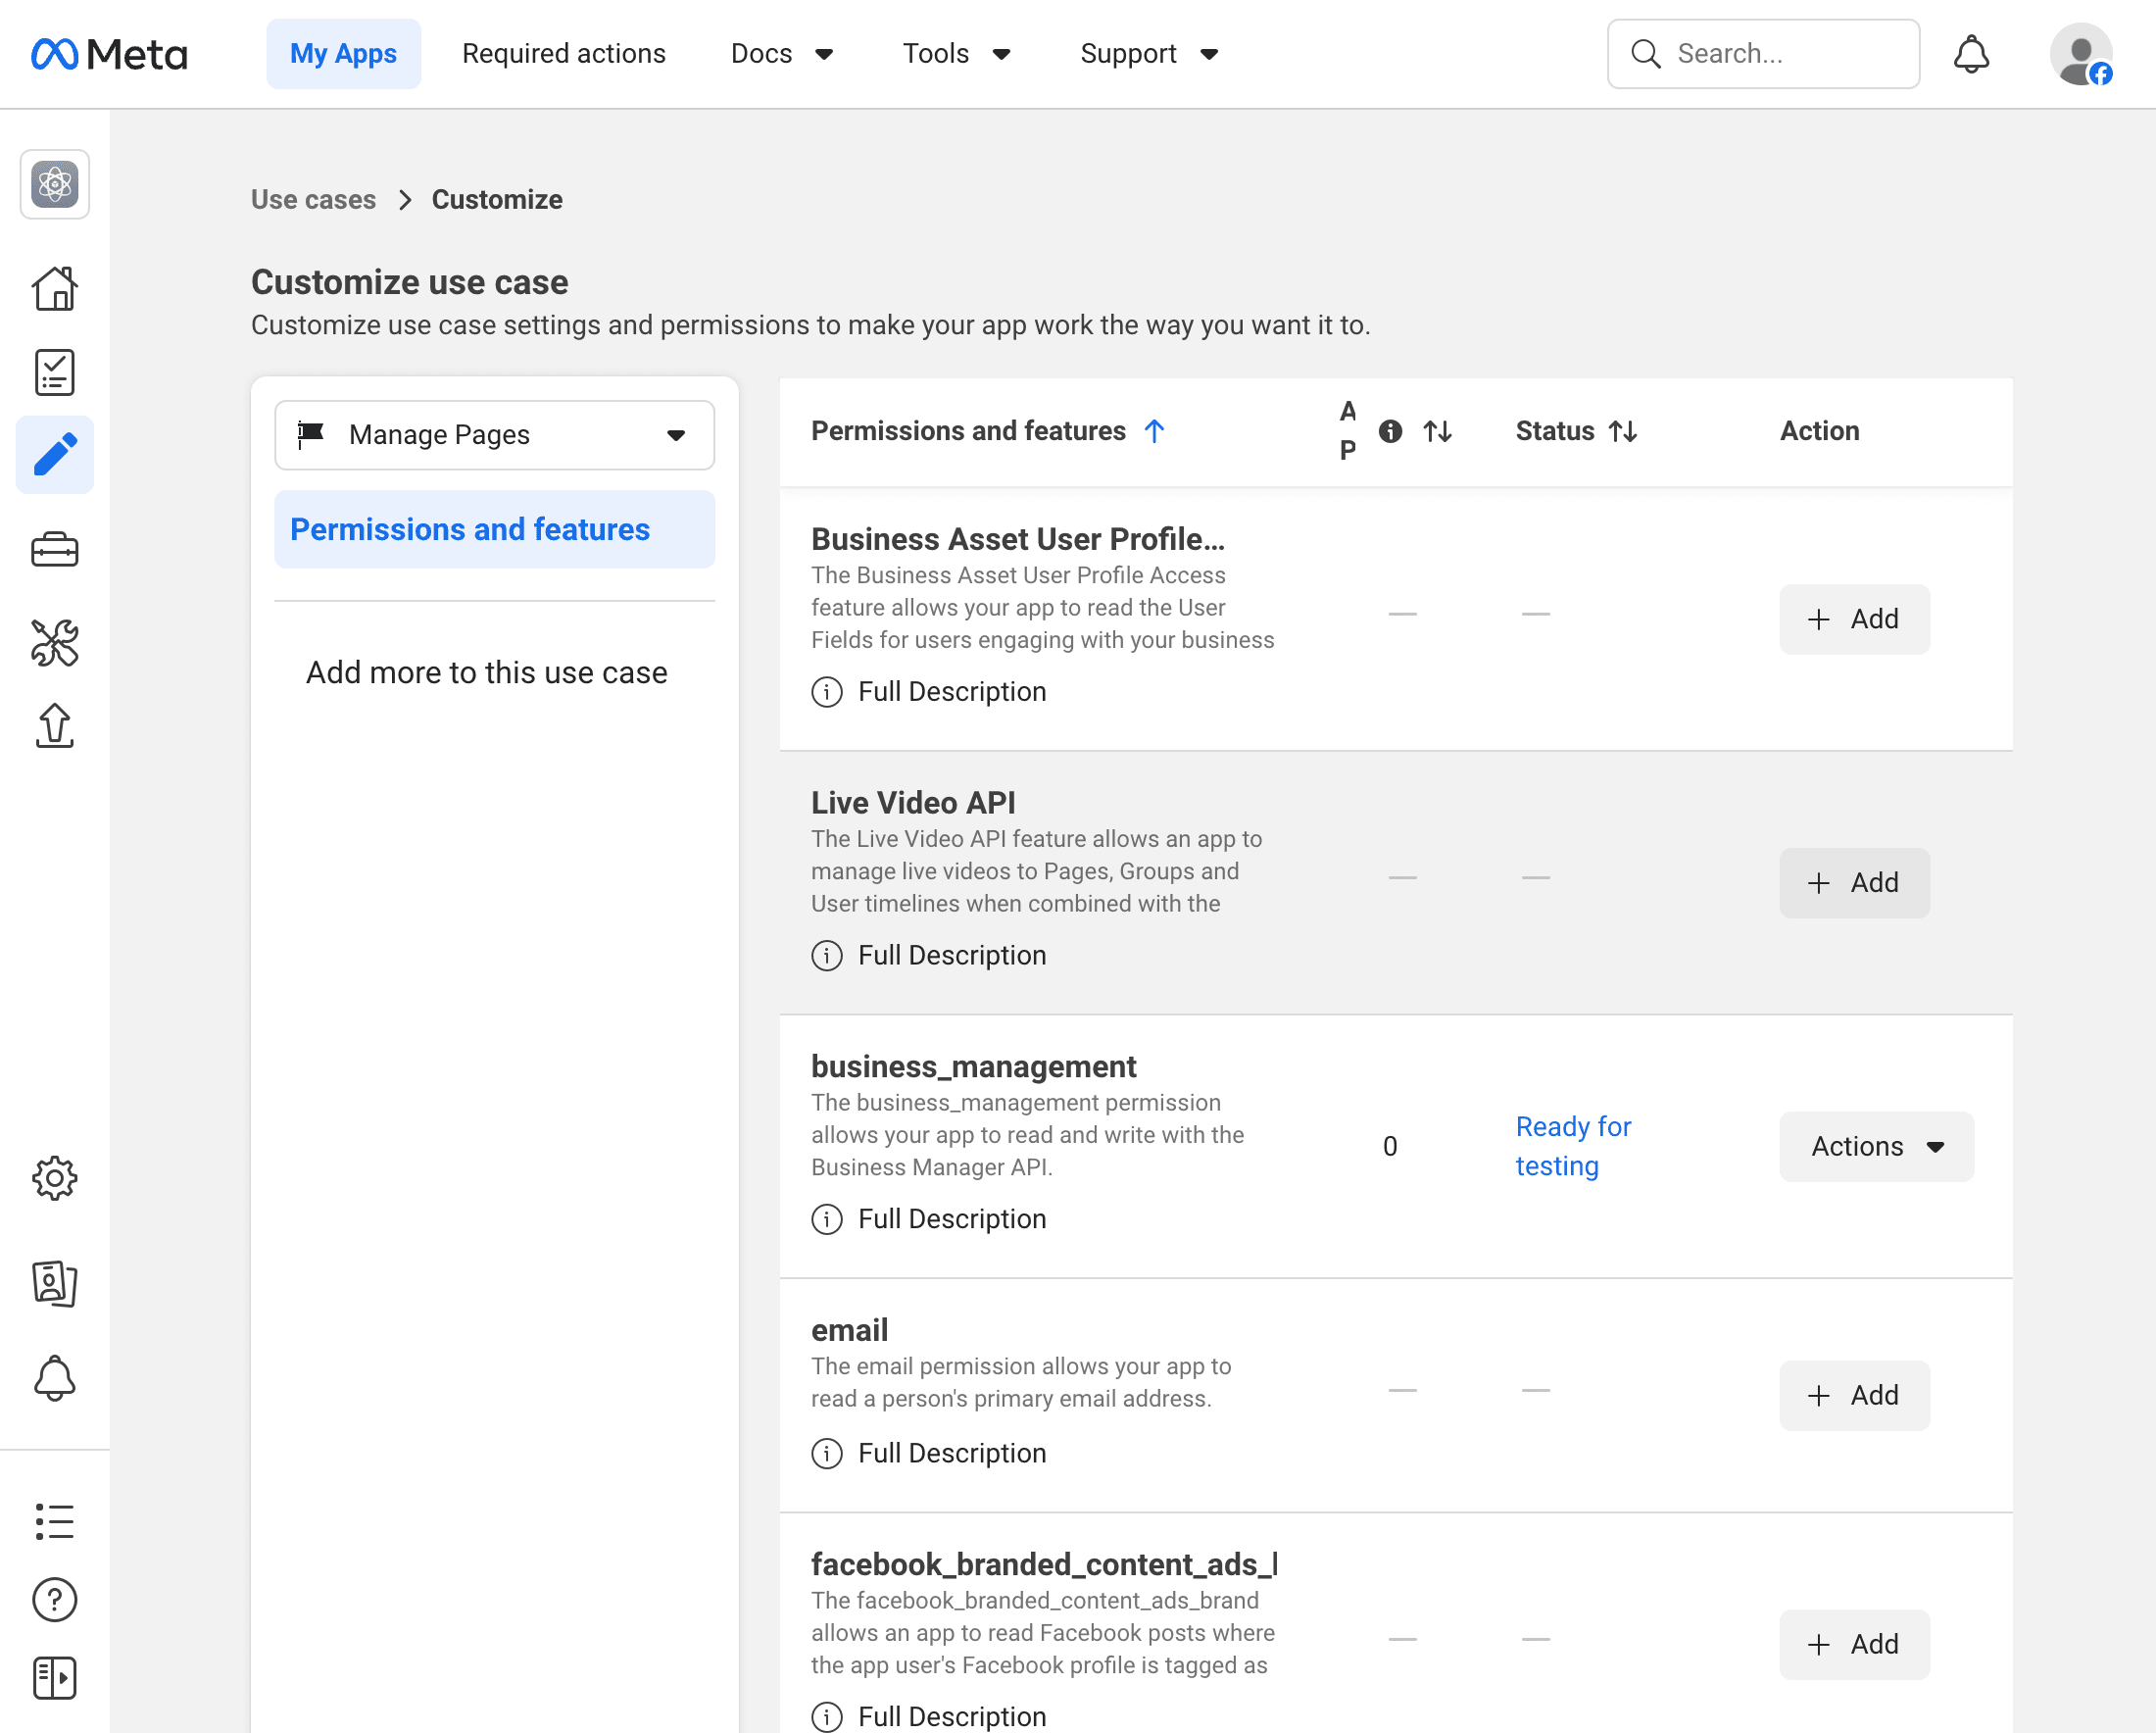
Verify all four perms = Ready for testing
เช็คให้แน่ใจว่าทุกตัวขึ้น '0 Ready for testing' (ตัว public_profile กับ business_management จะ default มาให้อยู่แล้ว)
EN. Confirm all four permissions show 'Ready for testing' status.
- 8
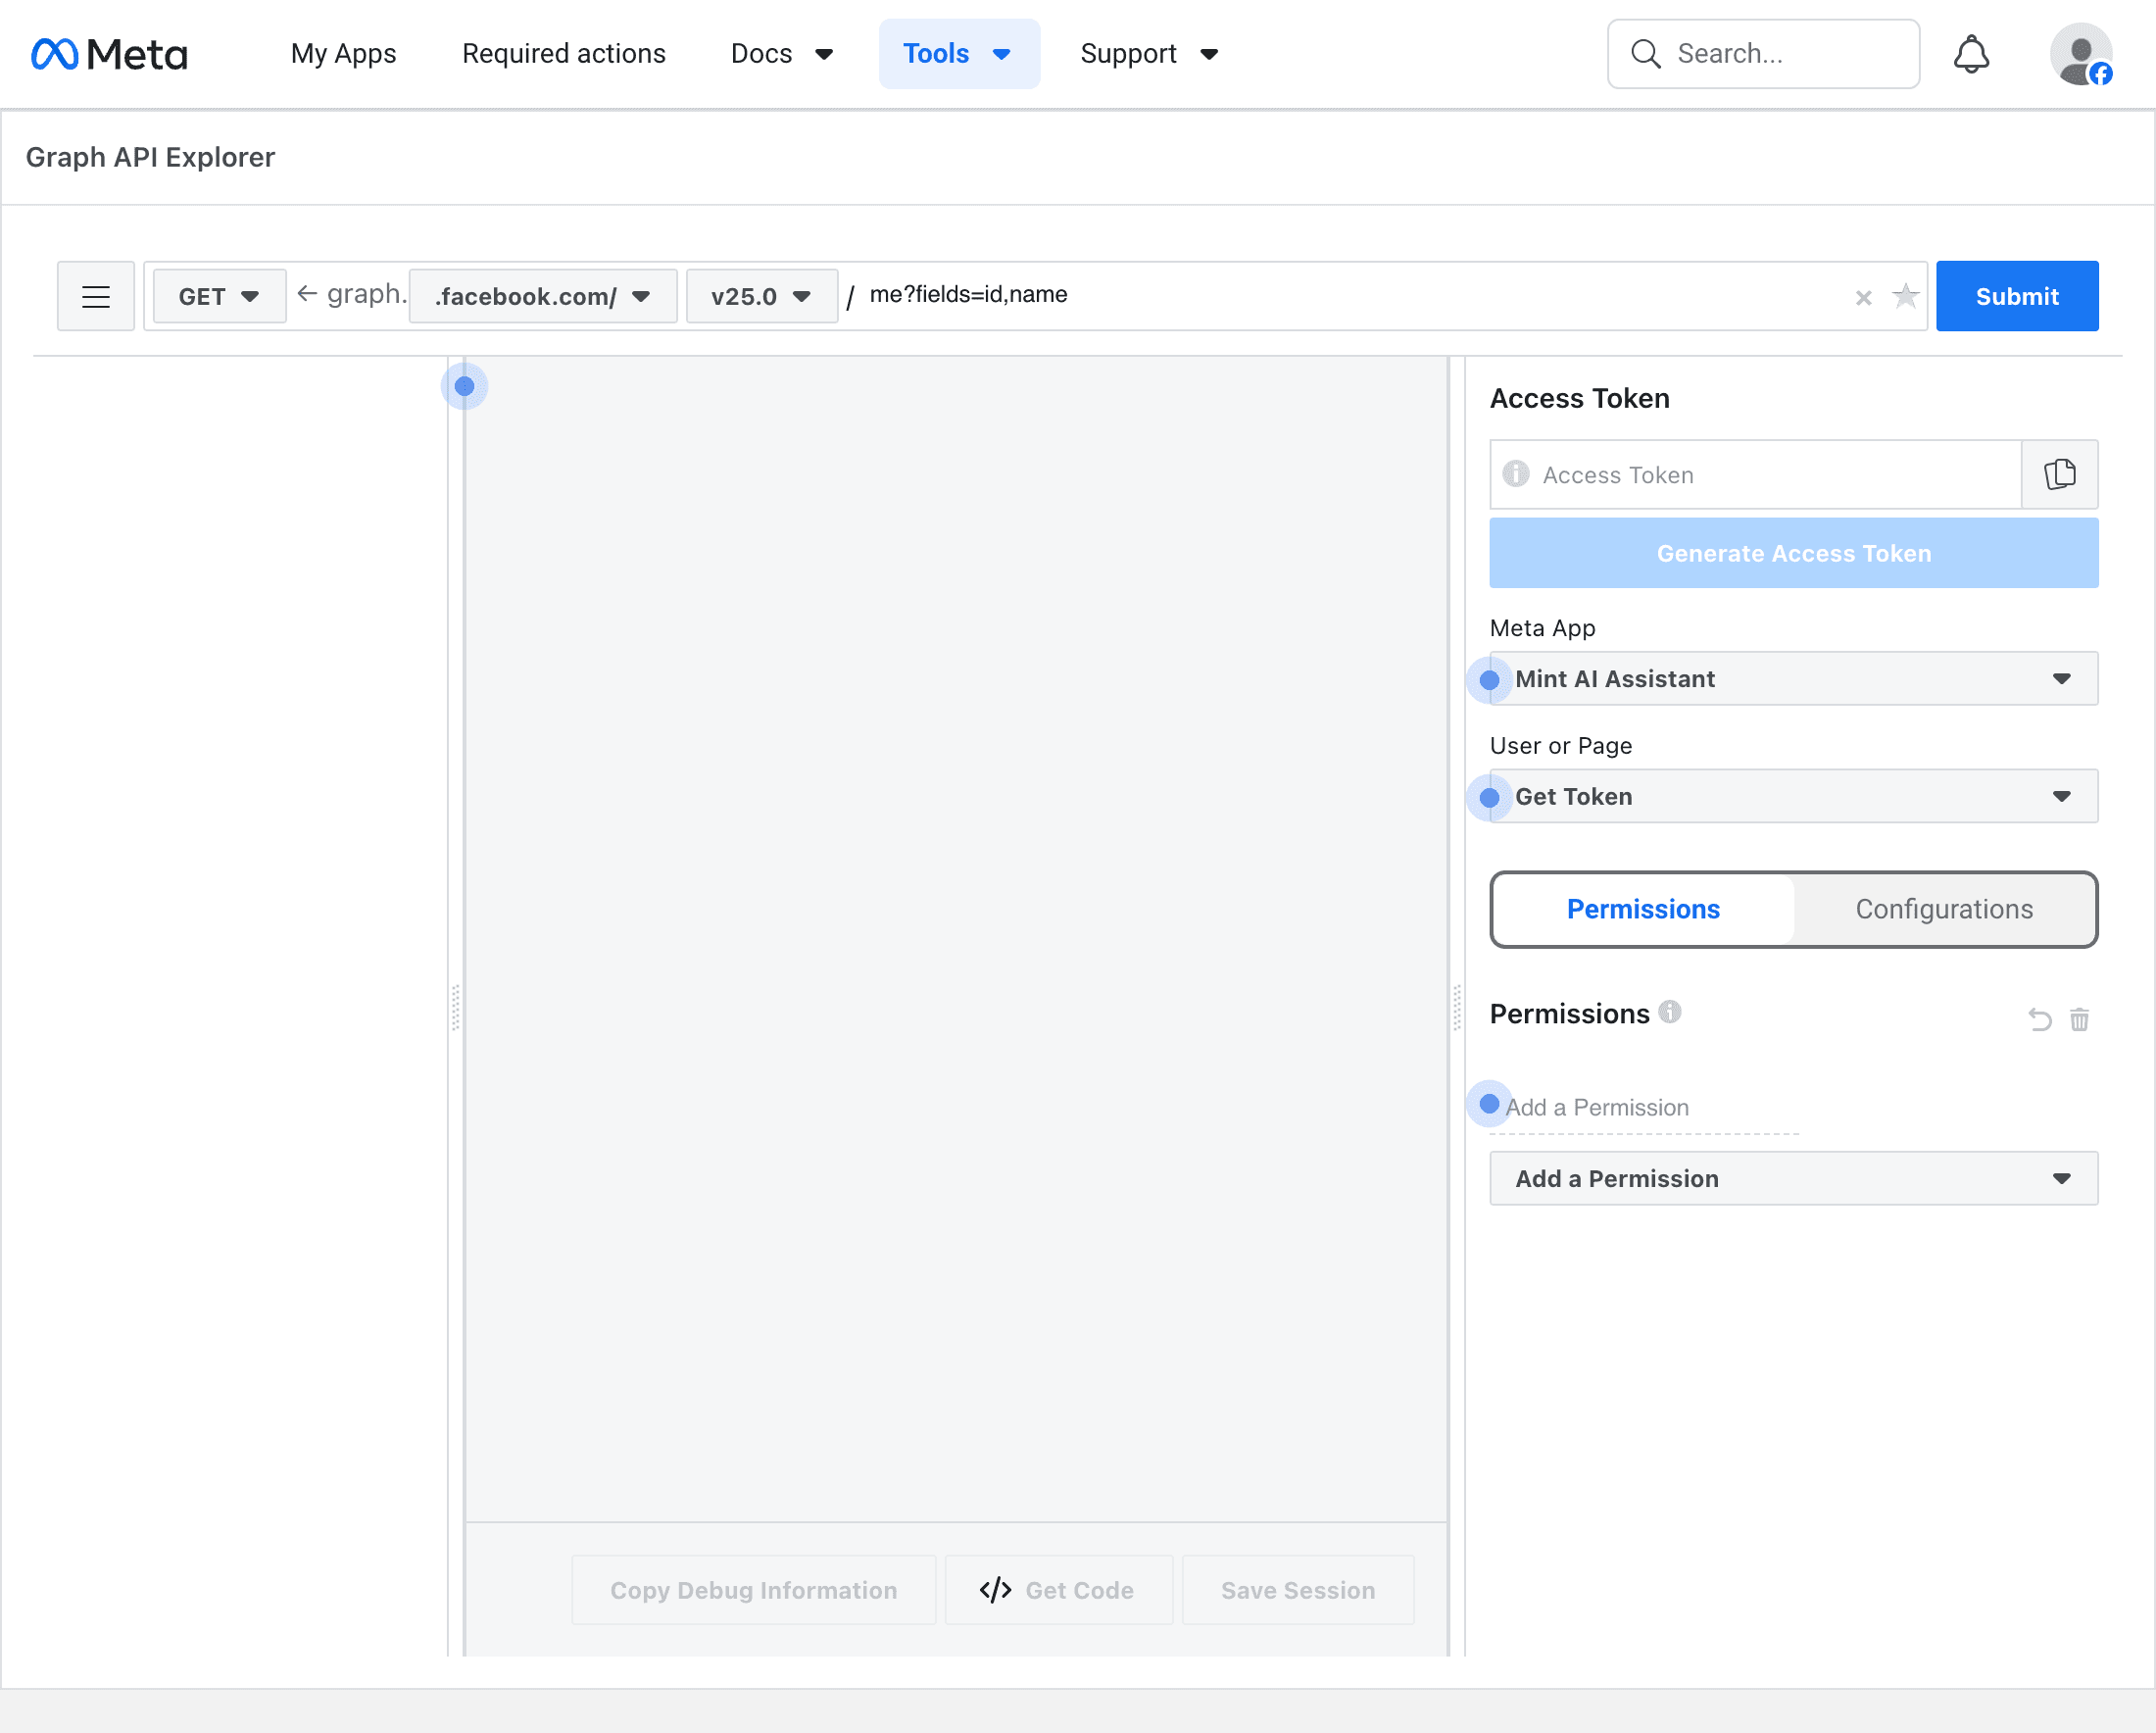
Open Graph API Explorer
ไปที่ Tools > Graph API Explorer (https://developers.facebook.com/tools/explorer/) เลือก Meta App = ชื่อแอปที่เพิ่งสร้าง
EN. Open Tools → Graph API Explorer. Select your new app under Meta App.
- 9
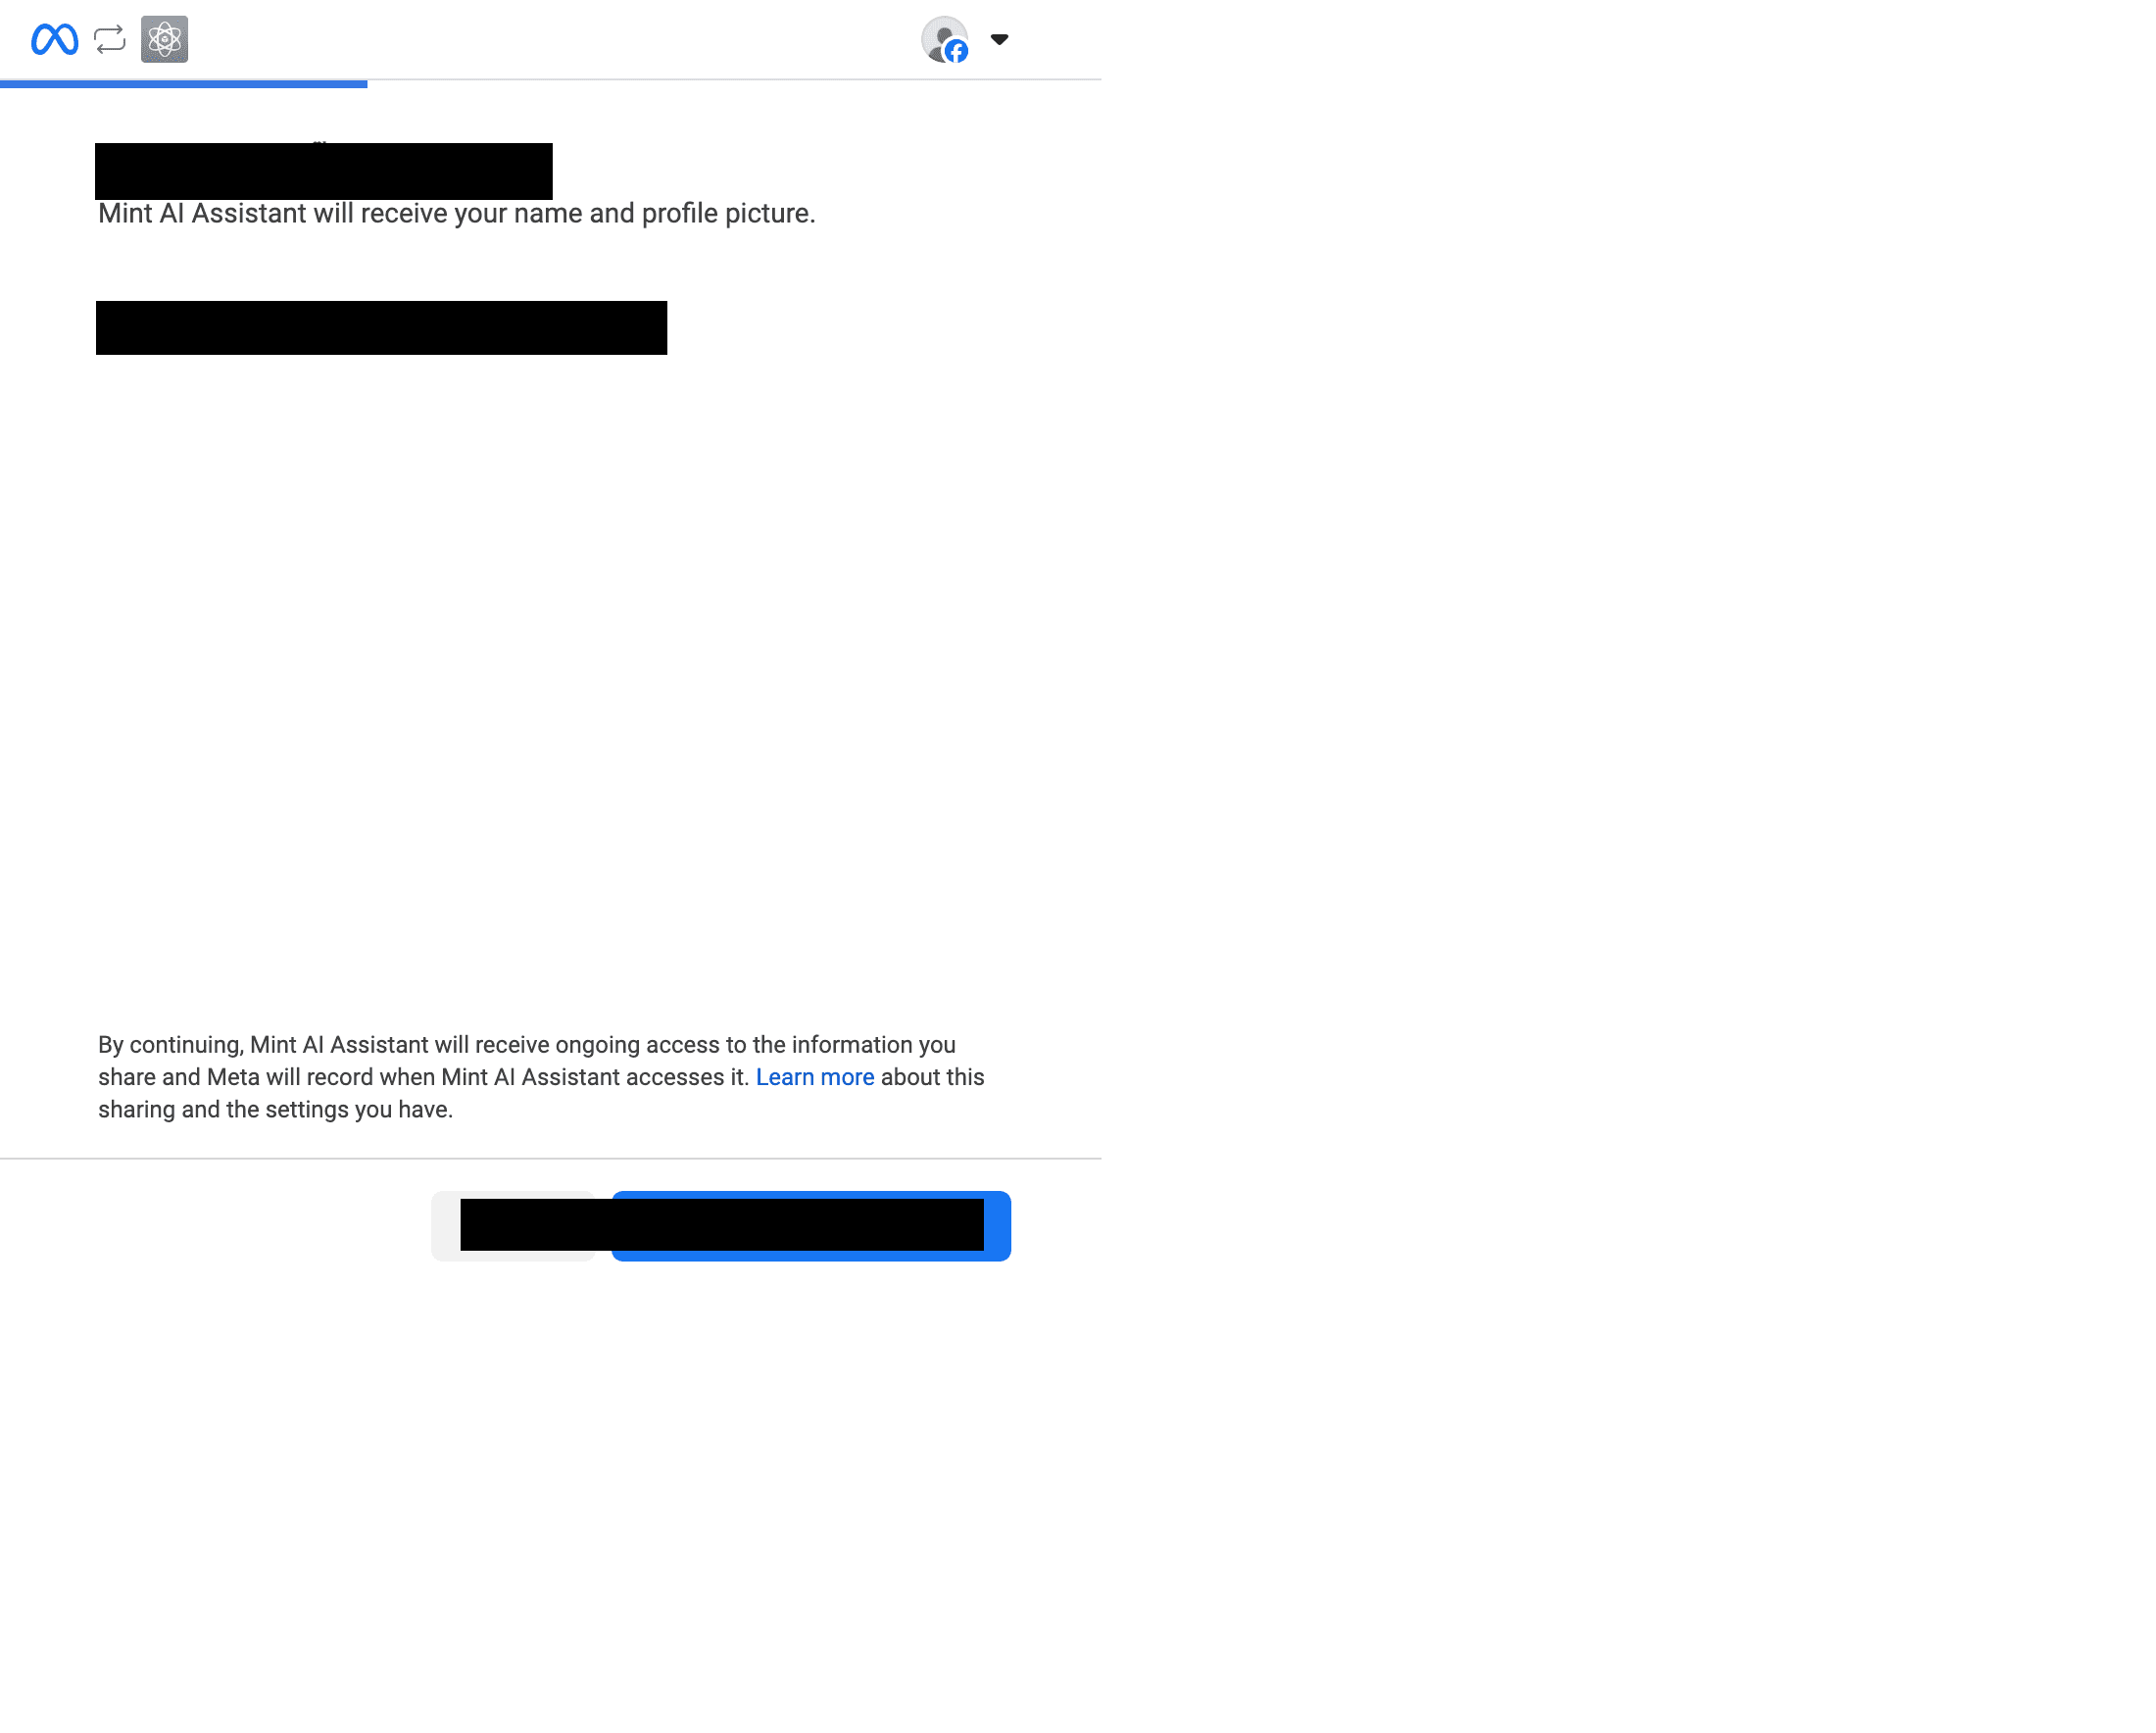
Generate Access Token + approve OAuth
กดปุ่ม Generate Access Token. Facebook จะเปิด popup ขออนุญาต: กด Continue as <ชื่อคุณ>
EN. Click Generate Access Token. Facebook opens an OAuth popup. Click Continue as <your name>.
- 10
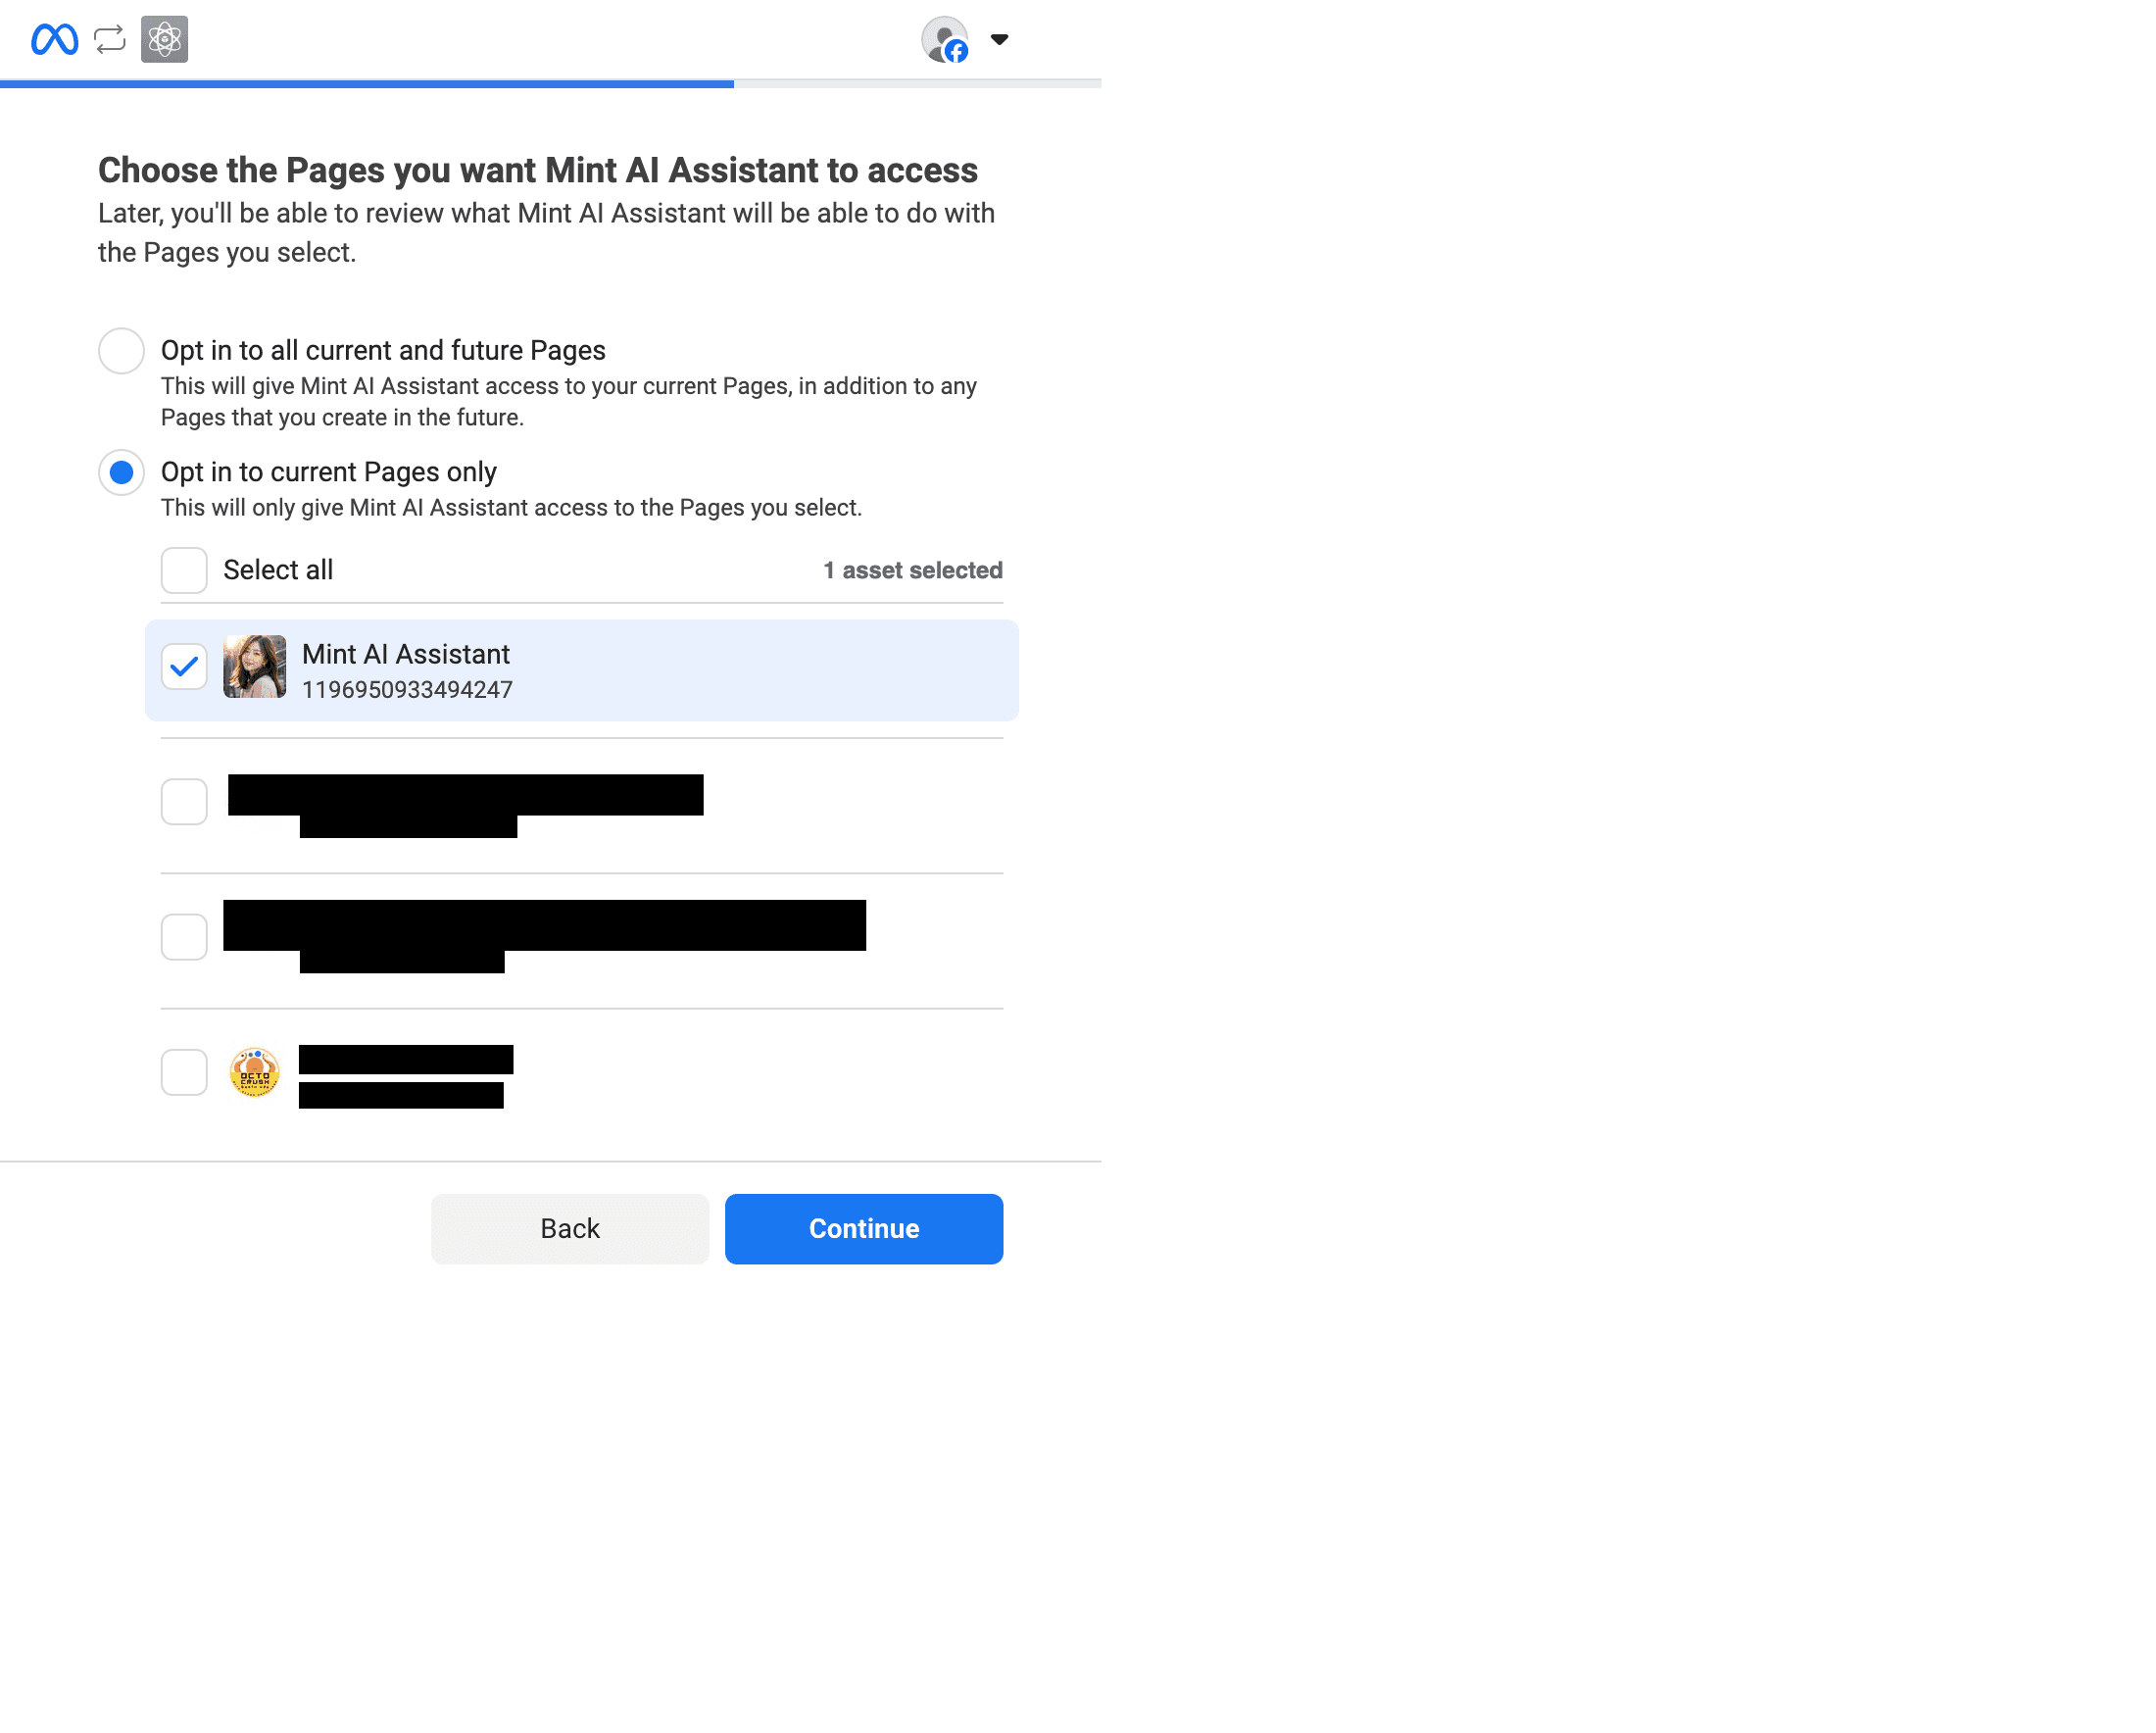
Pick only the Page you want automated
หน้า 'Choose the Pages you want ... to access' เลือกเฉพาะ Page ที่จะให้ token ดูแล (ติ๊กตัวเดียวพอ ไม่ต้อง select all) แล้วกด Continue
EN. On the page selector, tick ONLY the Page you want to automate, then Continue.
- 11
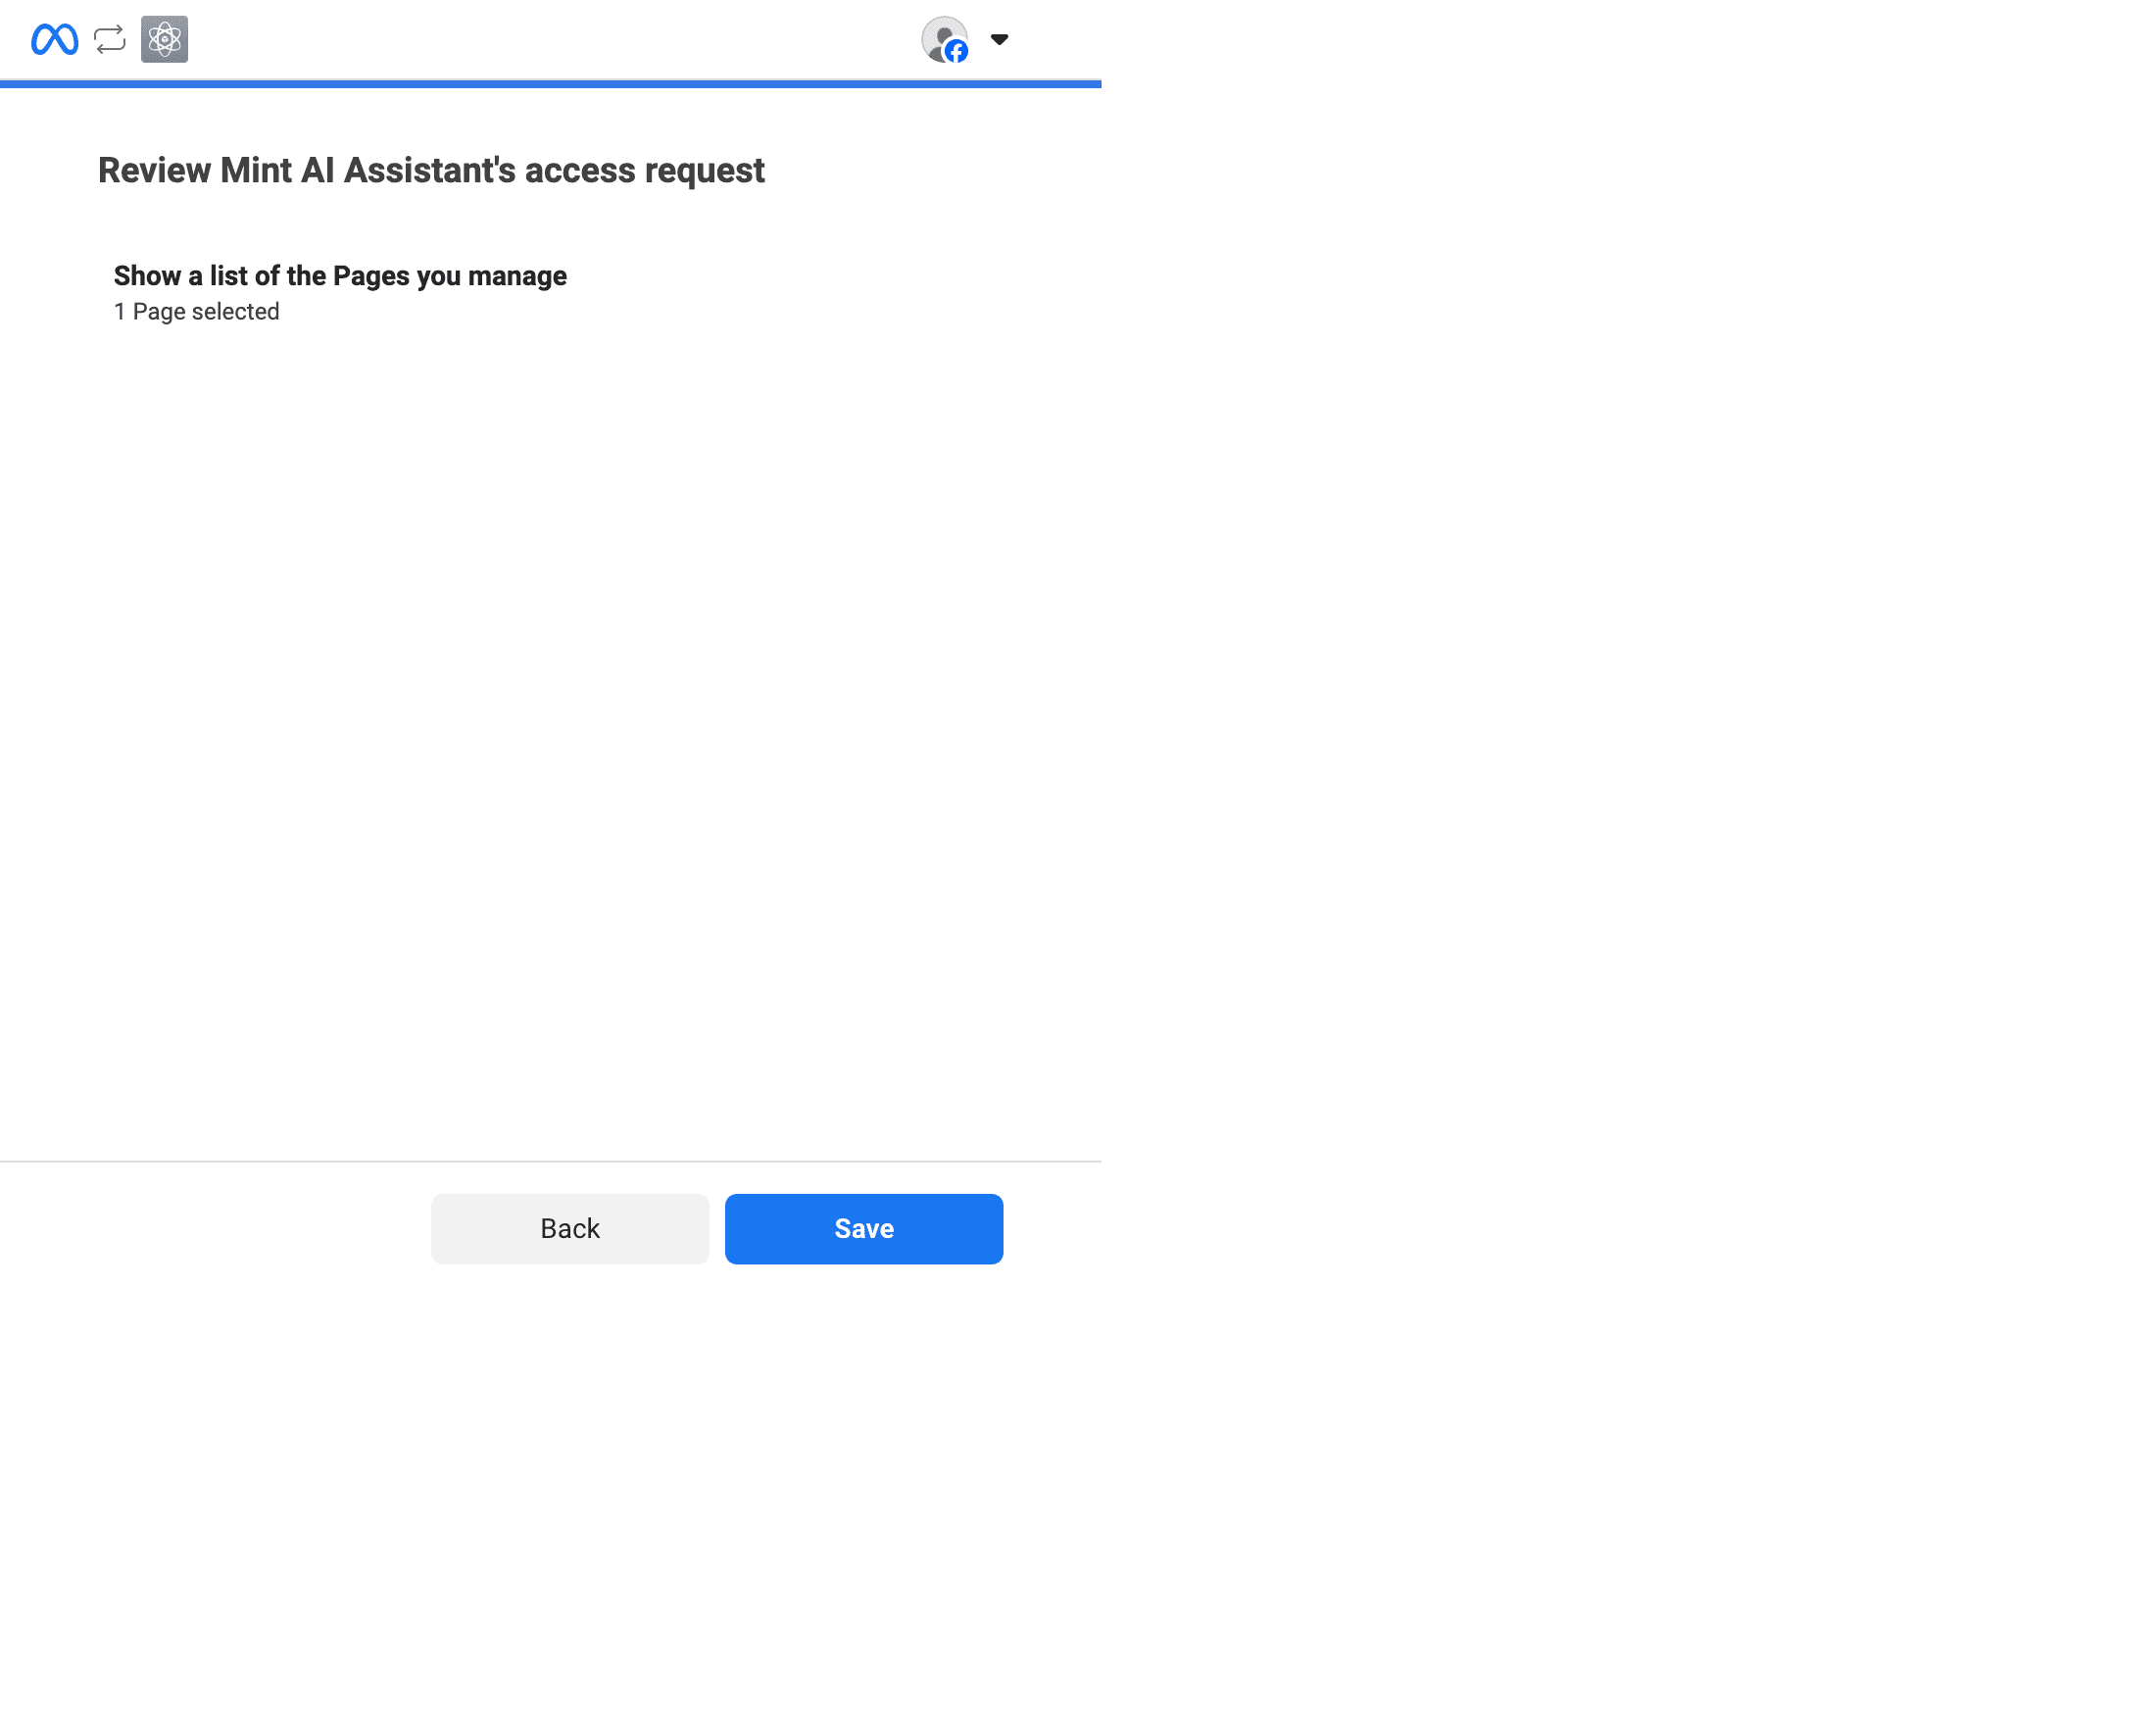
Review access request + Save
หน้าสรุปจะแสดงว่าแอปจะเข้าถึงอะไรได้บ้าง กด Save แล้ว Got it
EN. Review the access request and click Save → Got it.
- 12
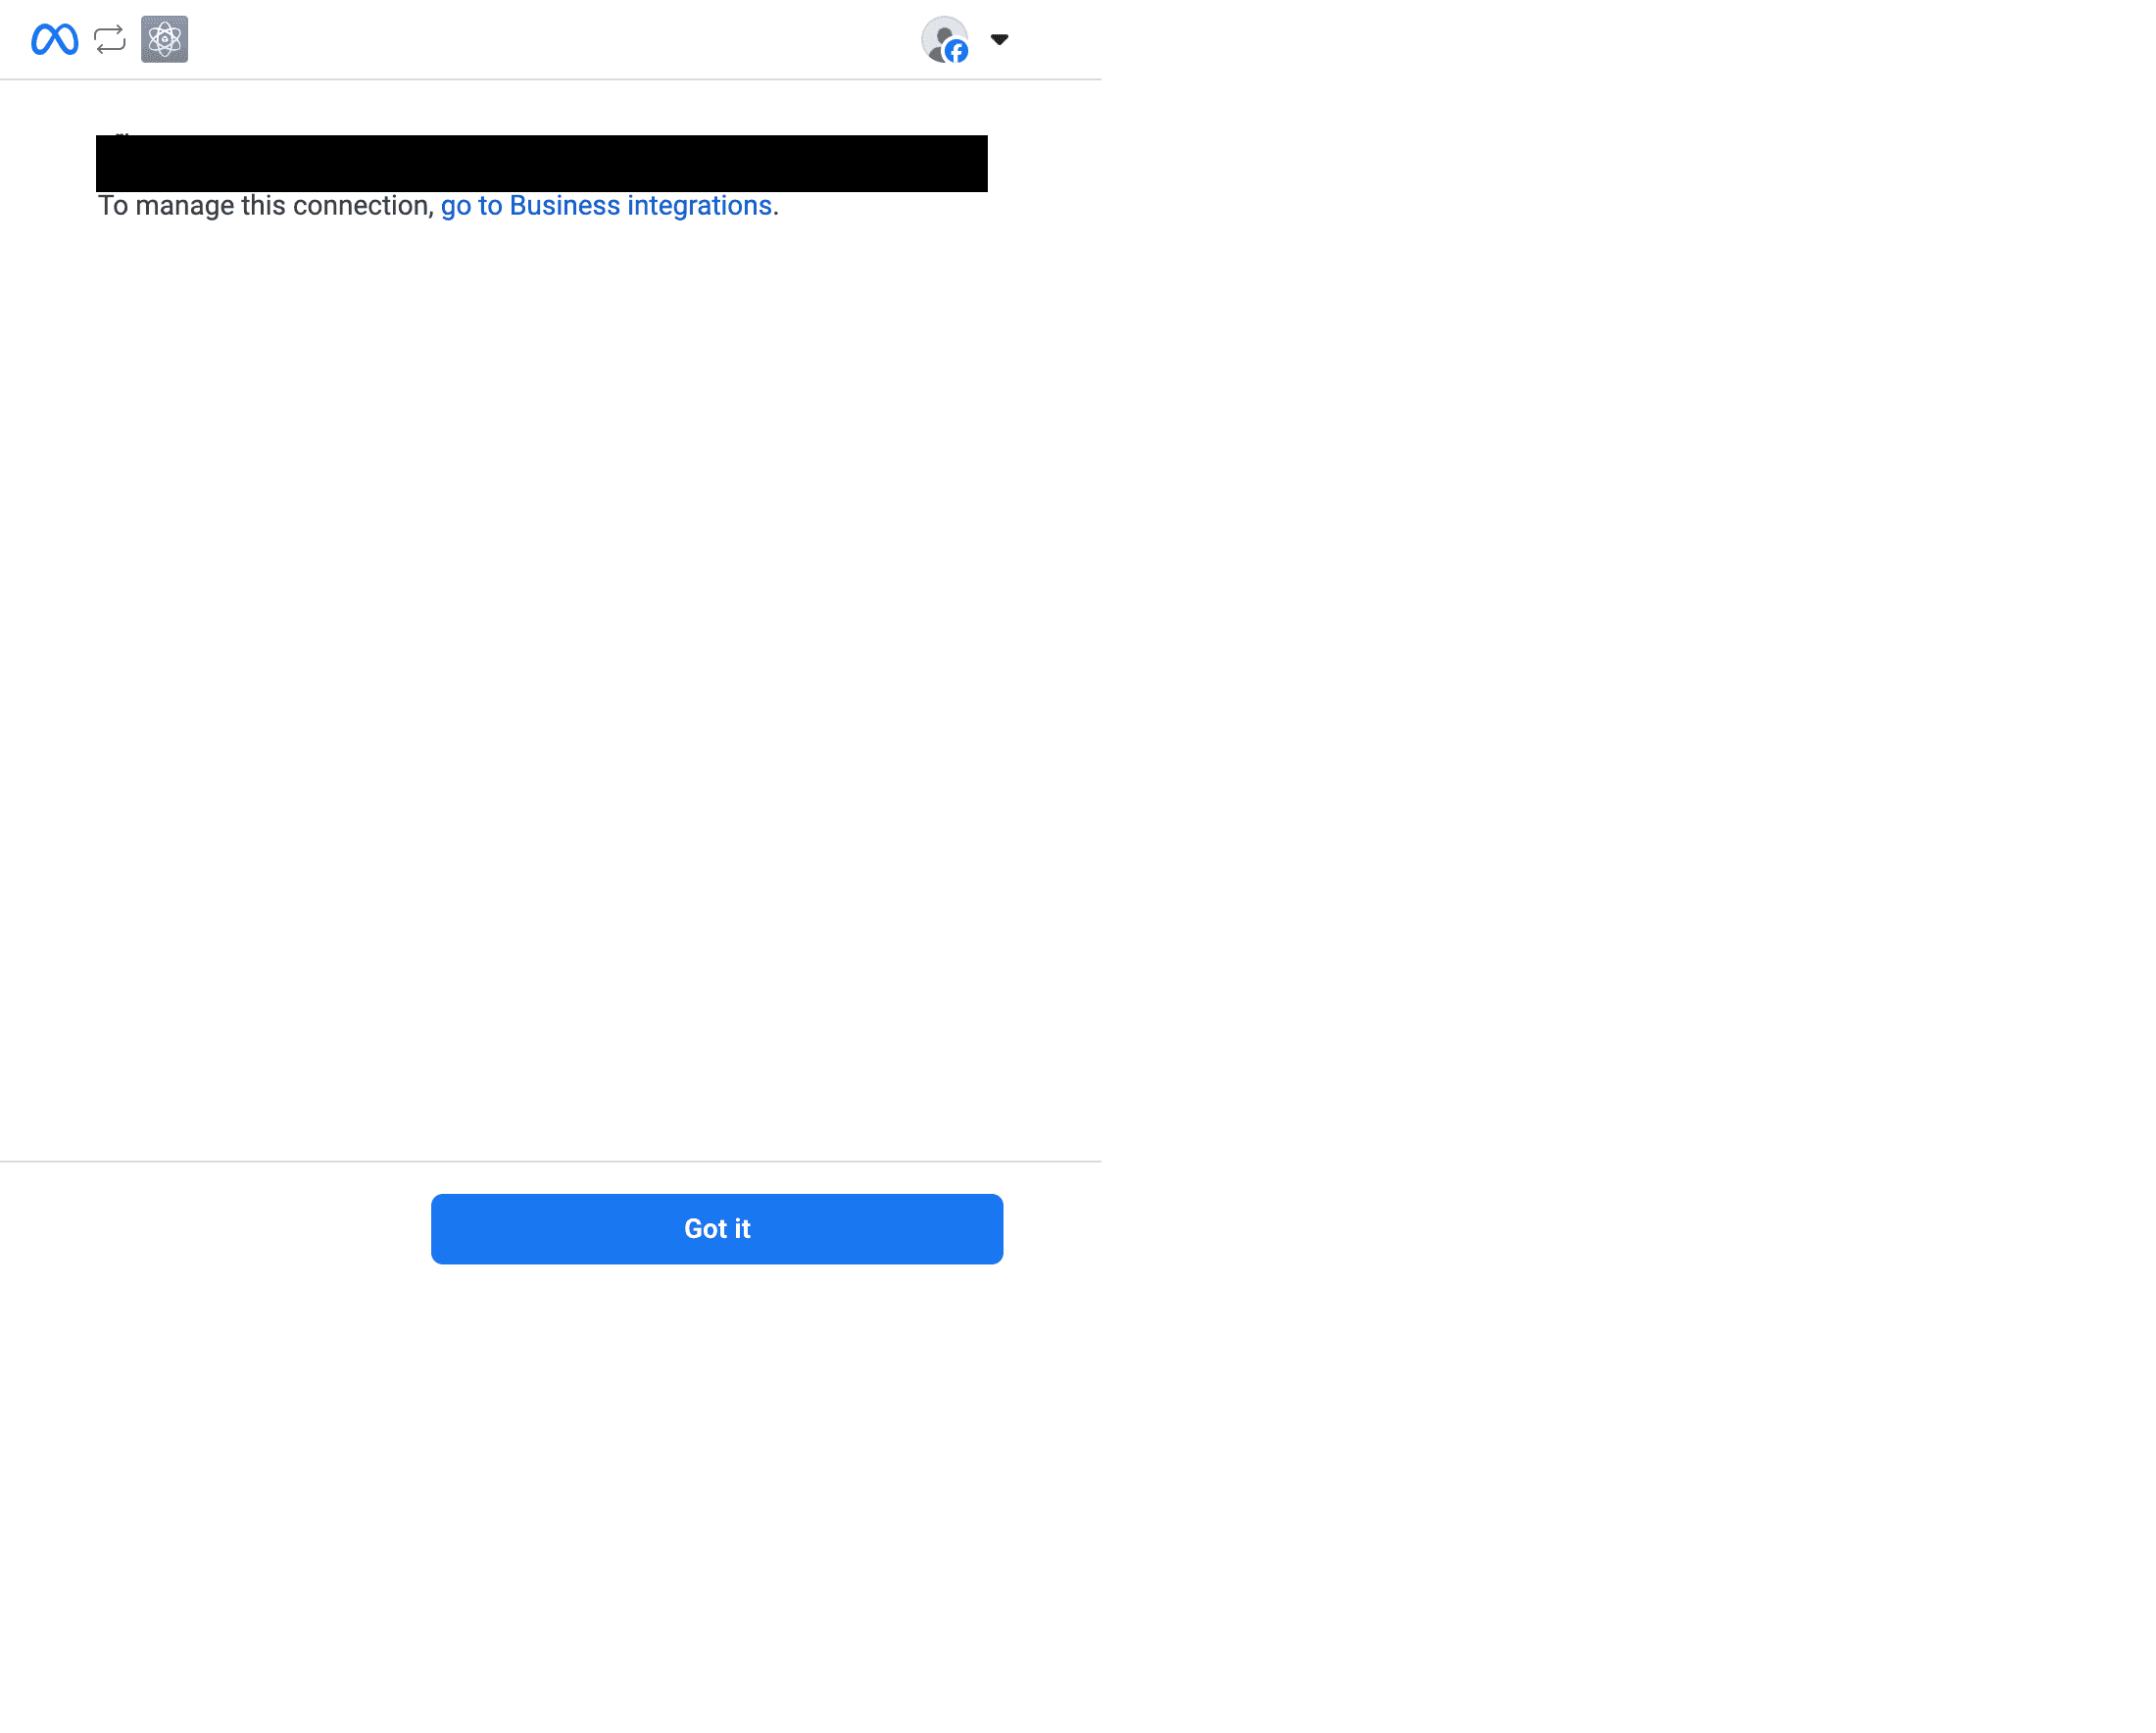
Connected → get short-lived user token
Popup ปิด แอปกลับสู่ Graph Explorer ช่อง Access Token จะเด้งโทเคน user token สั้น ๆ (ใช้ได้ ~1 ชั่วโมง) มาให้
EN. After approval the dialog closes and Graph Explorer fills the Access Token field with a short-lived user token (~1 hour TTL).
- 13
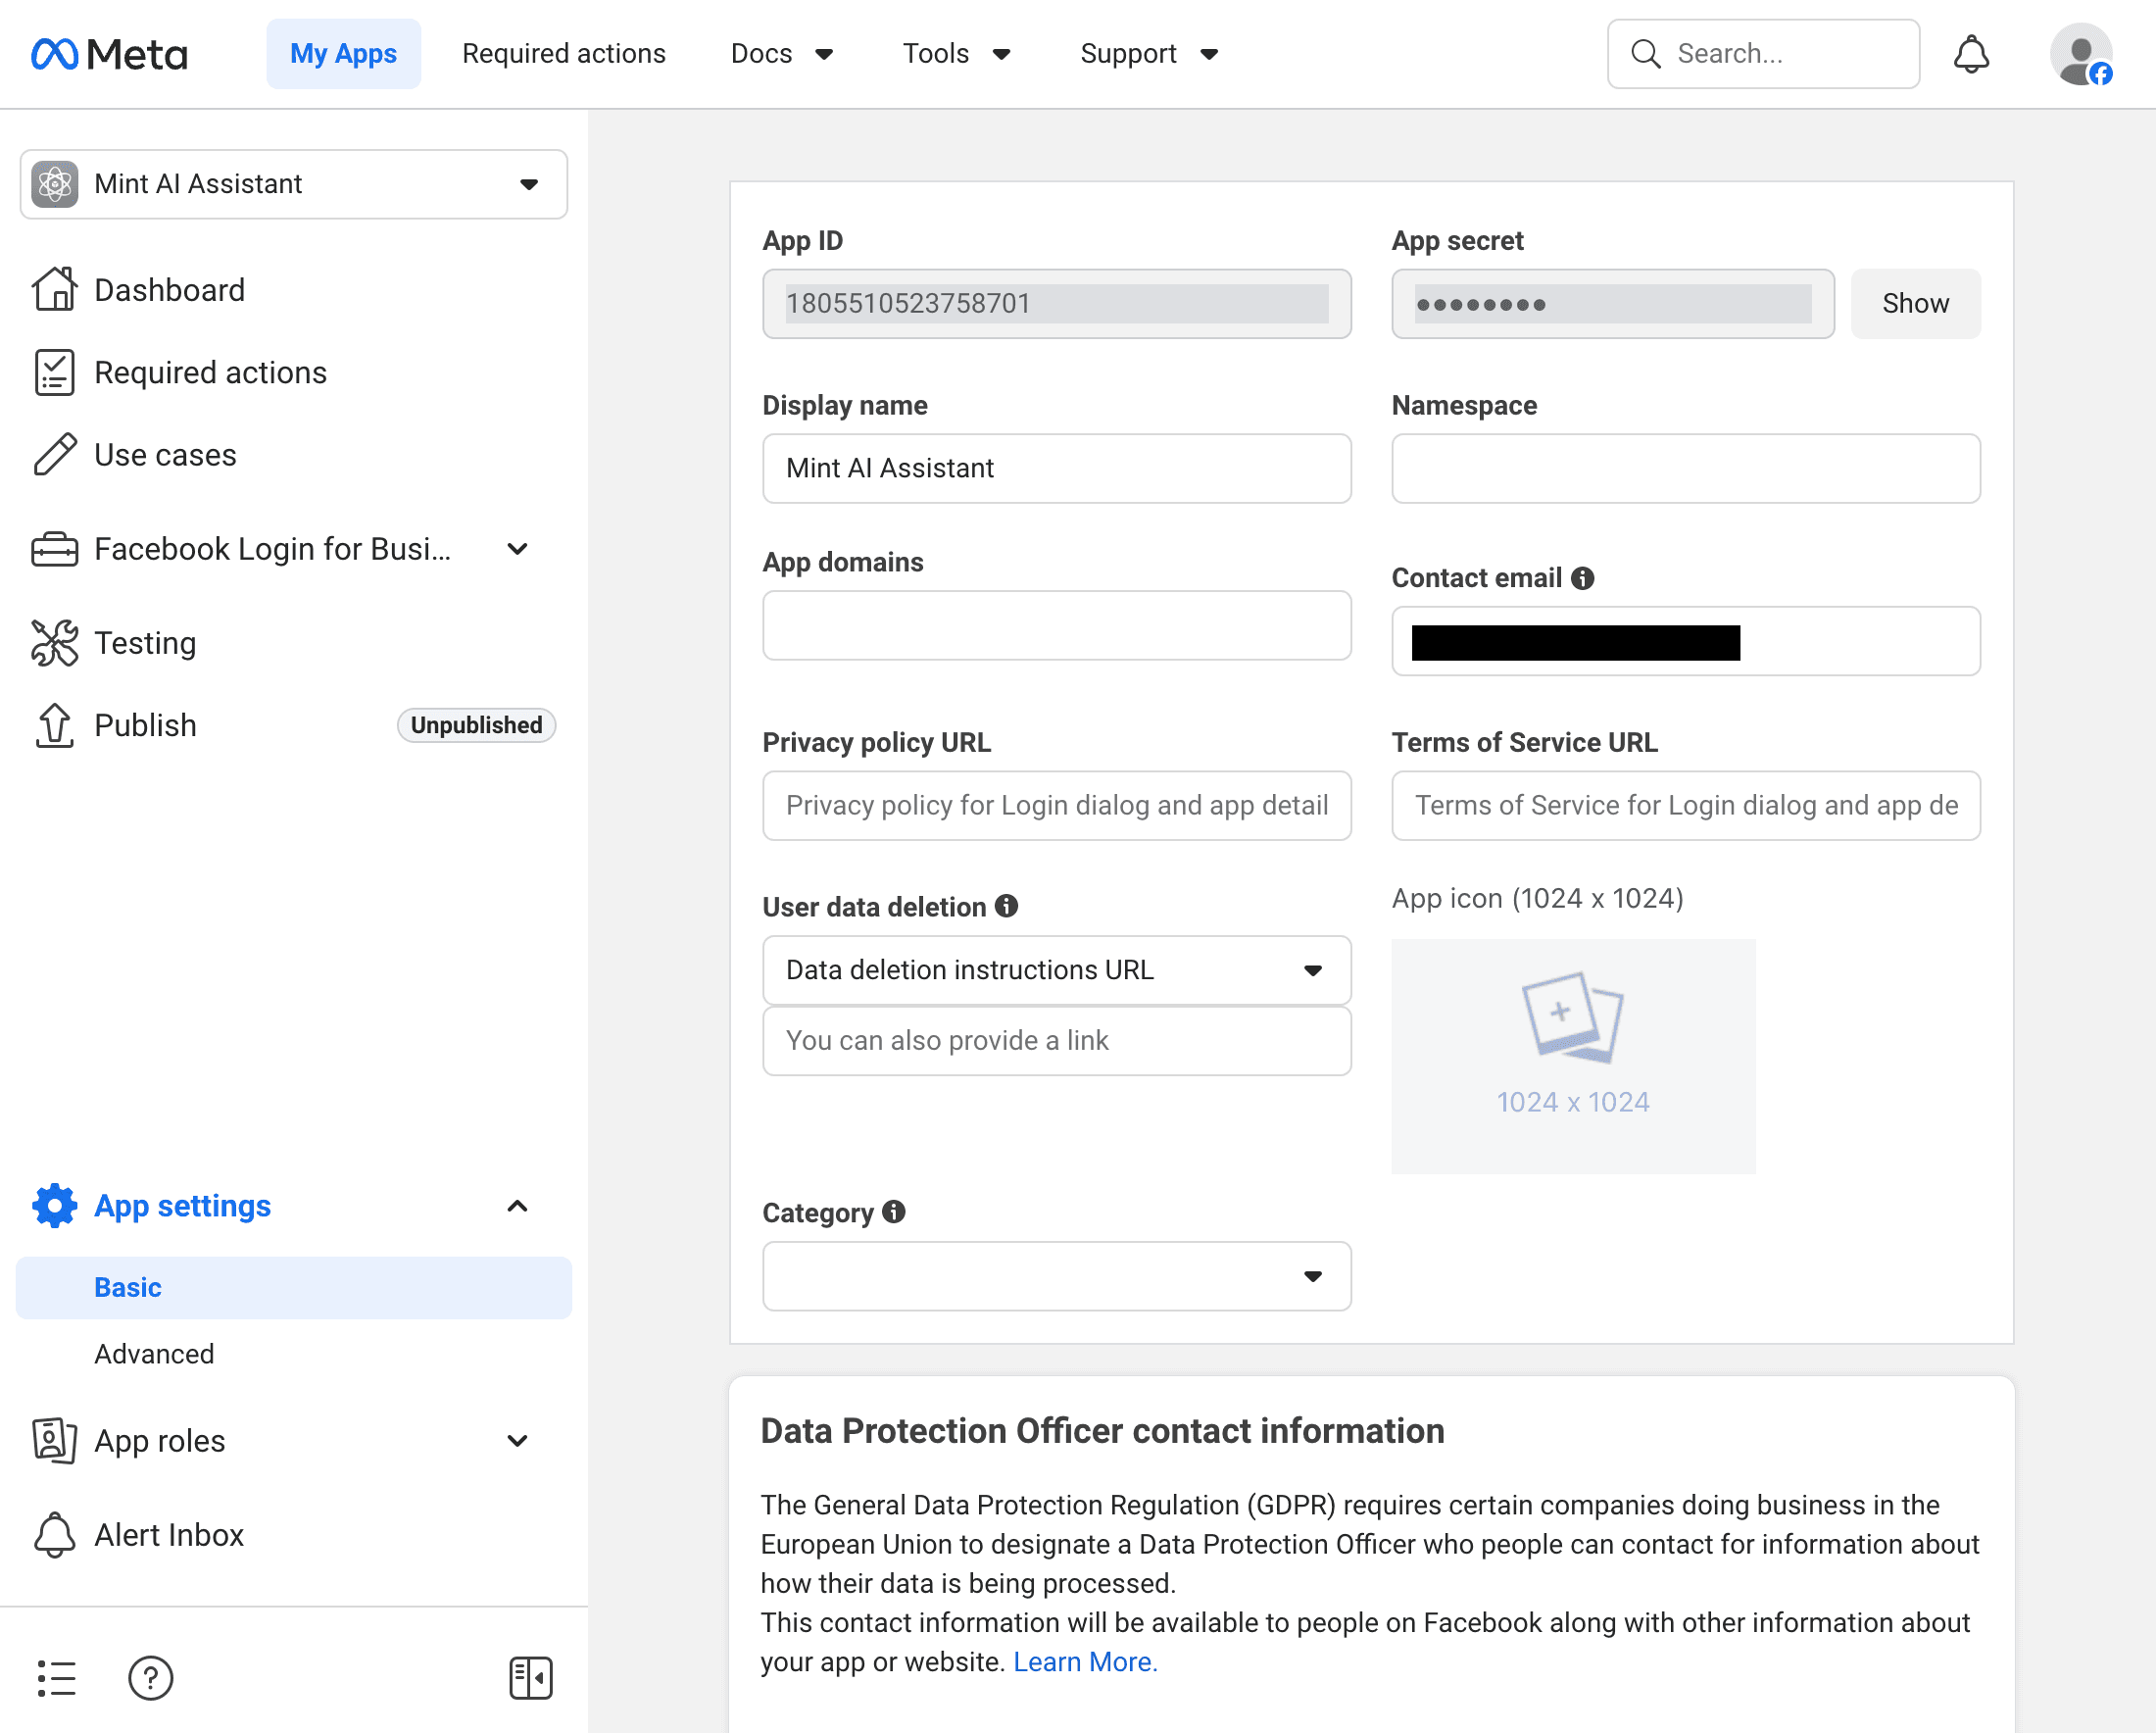
Copy the App Secret
เปิดอีก tab ไป App settings > Basic แล้วกด Show ที่ช่อง App secret (Facebook อาจขอ password ซ้ำ). คัดลอกเก็บไว้ — อย่าเผยแพร่ตัวนี้เด็ดขาด
EN. Open App settings → Basic, click Show next to App secret, and copy it. Never share it.
⚠ ความลับ — เก็บใส่ Keychain/secret manager ของคุณ ห้าม commit ลง git
- 14
Exchange short → long-lived USER token (60 days)
รัน curl นี้ใน terminal เพื่อแลก user token สั้น ๆ ให้กลายเป็น long-lived user token (อายุ ~60 วัน)
EN. Exchange the short-lived user token for a long-lived one (60 days) via the fb_exchange_token grant.
curl -G "https://graph.facebook.com/v25.0/oauth/access_token" \ --data-urlencode "grant_type=fb_exchange_token" \ --data-urlencode "client_id=YOUR_APP_ID" \ --data-urlencode "client_secret=YOUR_APP_SECRET" \ --data-urlencode "fb_exchange_token=YOUR_SHORT_LIVED_USER_TOKEN" - 15
Trade up to never-expiring PAGE token
เอา long-lived user token ที่ได้ ไปเรียก /me/accounts จะคืน access_token ของแต่ละ Page ที่คุณ admin token Page ตัวนี้จะ ไม่มีวันหมดอายุ ตราบใดที่คุณยังเป็น admin ของ Page
EN. Call /me/accounts with the long-lived user token. Each entry's access_token is the Page token. Those Page tokens NEVER expire as long as you remain an admin.
curl "https://graph.facebook.com/v25.0/me/accounts?access_token=YOUR_LONG_LIVED_USER_TOKEN"Response จะมี array
data[]แต่ละตัวคือ Page ที่คุณเป็น admin fieldaccess_tokenของ Page นั้นแหละคือ Long-lived Page Access Token ที่ต้องการ
ตรวจสอบว่า Token ไม่มีวันหมดอายุจริง
เรียก debug_token endpoint แล้วดูค่า expires_at ต้องเป็น 0 (แปลว่า never).
curl "https://graph.facebook.com/v25.0/debug_token?input_token=PAGE_TOKEN&access_token=APP_ID|APP_SECRET"ลองโพสต์
curl -X POST "https://graph.facebook.com/v25.0/me/feed" \
  -d "message=Hello world from my Page" \
  -d "access_token=PAGE_TOKEN"
Token จะตายเมื่อไหร่
- คุณถูกถอดสิทธิ์ admin ของ Page
- คุณเข้าไป revoke แอปที่ Settings > Business Tools
- เปลี่ยนรหัสผ่าน Facebook (บางเคส)
- Facebook ยึดสิทธิ์แอปเพราะละเมิด policy
ถ้าโดนกรณีใดกรณีหนึ่ง ให้กลับมาเดิน Step 8 ถึง 15 ใหม่ (ไม่ต้องสร้างแอปใหม่)